Create Playbooks in Advanced Mode
Advanced Mode provides all the functionality needed to build any playbook.
Note
To view or work with playbooks, you must be in a group that has Playbook permission. For more information, see Manage users.
You can access and use Advanced Mode in either of these ways:
- Build your playbook in Easy Mode, then switch to Advanced Mode if needed for any functionality that isn't available in Easy Mode.
- Build your playbook completely in Advanced Mode.
Note
By default, playbooks open in Easy Mode. To change the default mode to Advanced Mode, see Set Default Playbook Editor.
To create a playbook in Advanced Mode:
- Click Playbooks to open the Playbooks page.
- Click New.
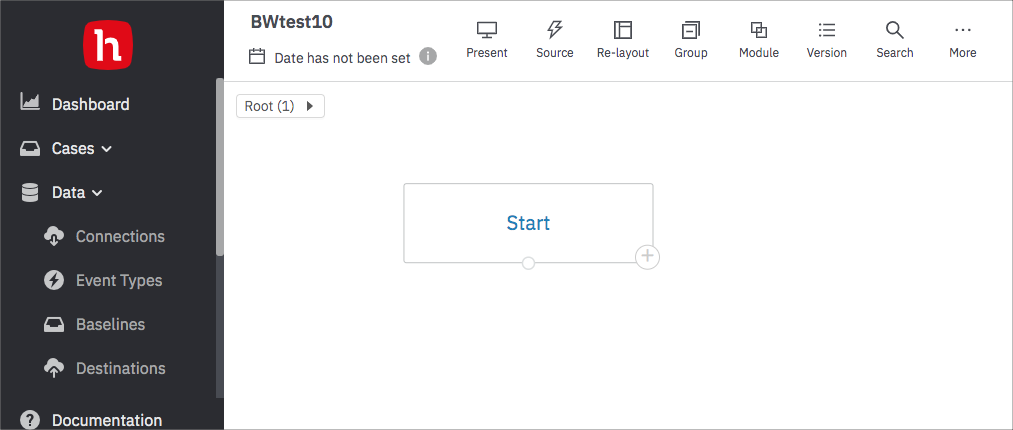
- Assign a name to the flow and click Submit.
The flow designer opens with a start step added.

- All playbooks rely on data coming in. The most common way to ingest data is with event types. (If you want to ingest data using a step, such as a computation step, skip this step.)
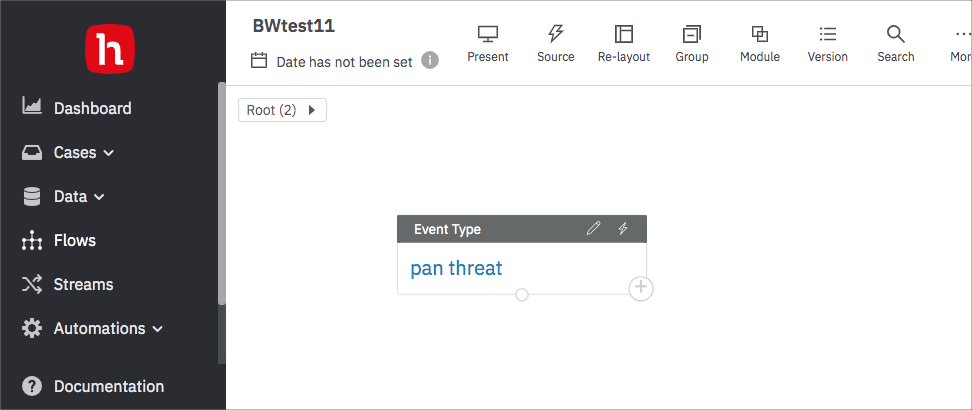
Click the Source icon in the top icon bare. Select one or more event types. If you don't see the event type you want, click Create a new Event Type to add a new one.

Then click Click Done to add the event type step to your playbook.

-
Use the Date Time Range control to set the sample time range for your playbook, and select a time zone from the dropdown list. Choose a range that is just wide enough for you to see data, but not so wide that you'll need to wait for query results. Depending on your data, you might need to adjust the interval to display data.
-
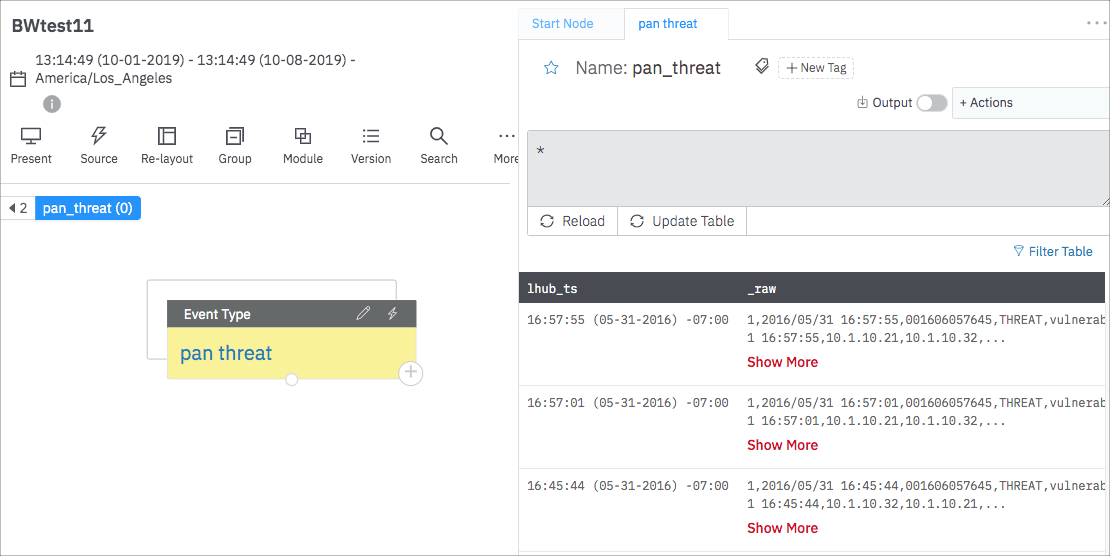
Click the event type box to add details. (If your playbook doesn't have an event type, see the articles under Build your playbook for instructions on adding steps.) The event type box shifts to the left panel, and the settings show on the right. The step that you're focusing on is highlighted in yellow.

The results table shows all the data that matches the selected step for the specified time range. Scrolling and pagination controls are available.
You can now build out your playbook by adding additional steps. Based on how you are constructing your playbook, LogicHub may have some recommendations for what to do next. To view any LogicHub recommendations, click + on a step and select View Recommendations.
Additionally, the playbook allows you to copy and paste the time period from one flow to another in Advanced Mode. When you click on the copy icon in the time period field, a Copied to clipboard message appears and you can use the copied time period in another flow.

Updated over 2 years ago