Nessus
Version: 2.0.0
Nessus is a remote security scanning tool, which scans a computer and raises an alert if it discovers any vulnerabilities that malicious hackers could use to gain access to any computer you have connected to a network. It does this by running over 1200 checks on a given computer, testing to see if any of these attacks could be used to break into the computer or otherwise harm it.
Connect Nessus with LogicHub
- Navigate to Automations > Integrations.
- Search for Nessus.
- Click Details, then the + icon. Enter the required information in the following fields.
- Label: Enter a connection name.
- Reference Values: Define variables here to templatize integration connections and actions. For example, you can use https://www.{{hostname}}.com where, hostname is a variable defined in this input. For more information on how to add data, see 'Add Data' Input Type for Integrations.
- Verify SSL: Select option to verify connecting server's SSL certificate (Default is Verify SSL Certificate).
- Remote Agent: Run this integration using the LogicHub Remote Agent.
- URL: URL to your Nessus instance. Example: 'https://cloud.tenable.com' or 'https://x.x.x.x:8834'.
- Access Key: Access key for Nessus. Visit '/#/settings/my-account/api-keys' to generate keys.
- Secret Key: Secret key for Nessus.
- After you've entered all the details, click Connect.
Actions for Nessus
List Scans
Lists Nessus Scans.
Input Field
Choose a connection that you have previously created and then fill in the necessary information in the following input fields to complete the connection.
| Input Name | Description | Required |
|---|---|---|
| Folder | Select folder where the scans you want to list are stored. | Optional |
| Last Modification Date | Limit the results to those scans that have only changed since the specified time. Enter epoch seconds (UNIX Timestamp). | Optional |
Output
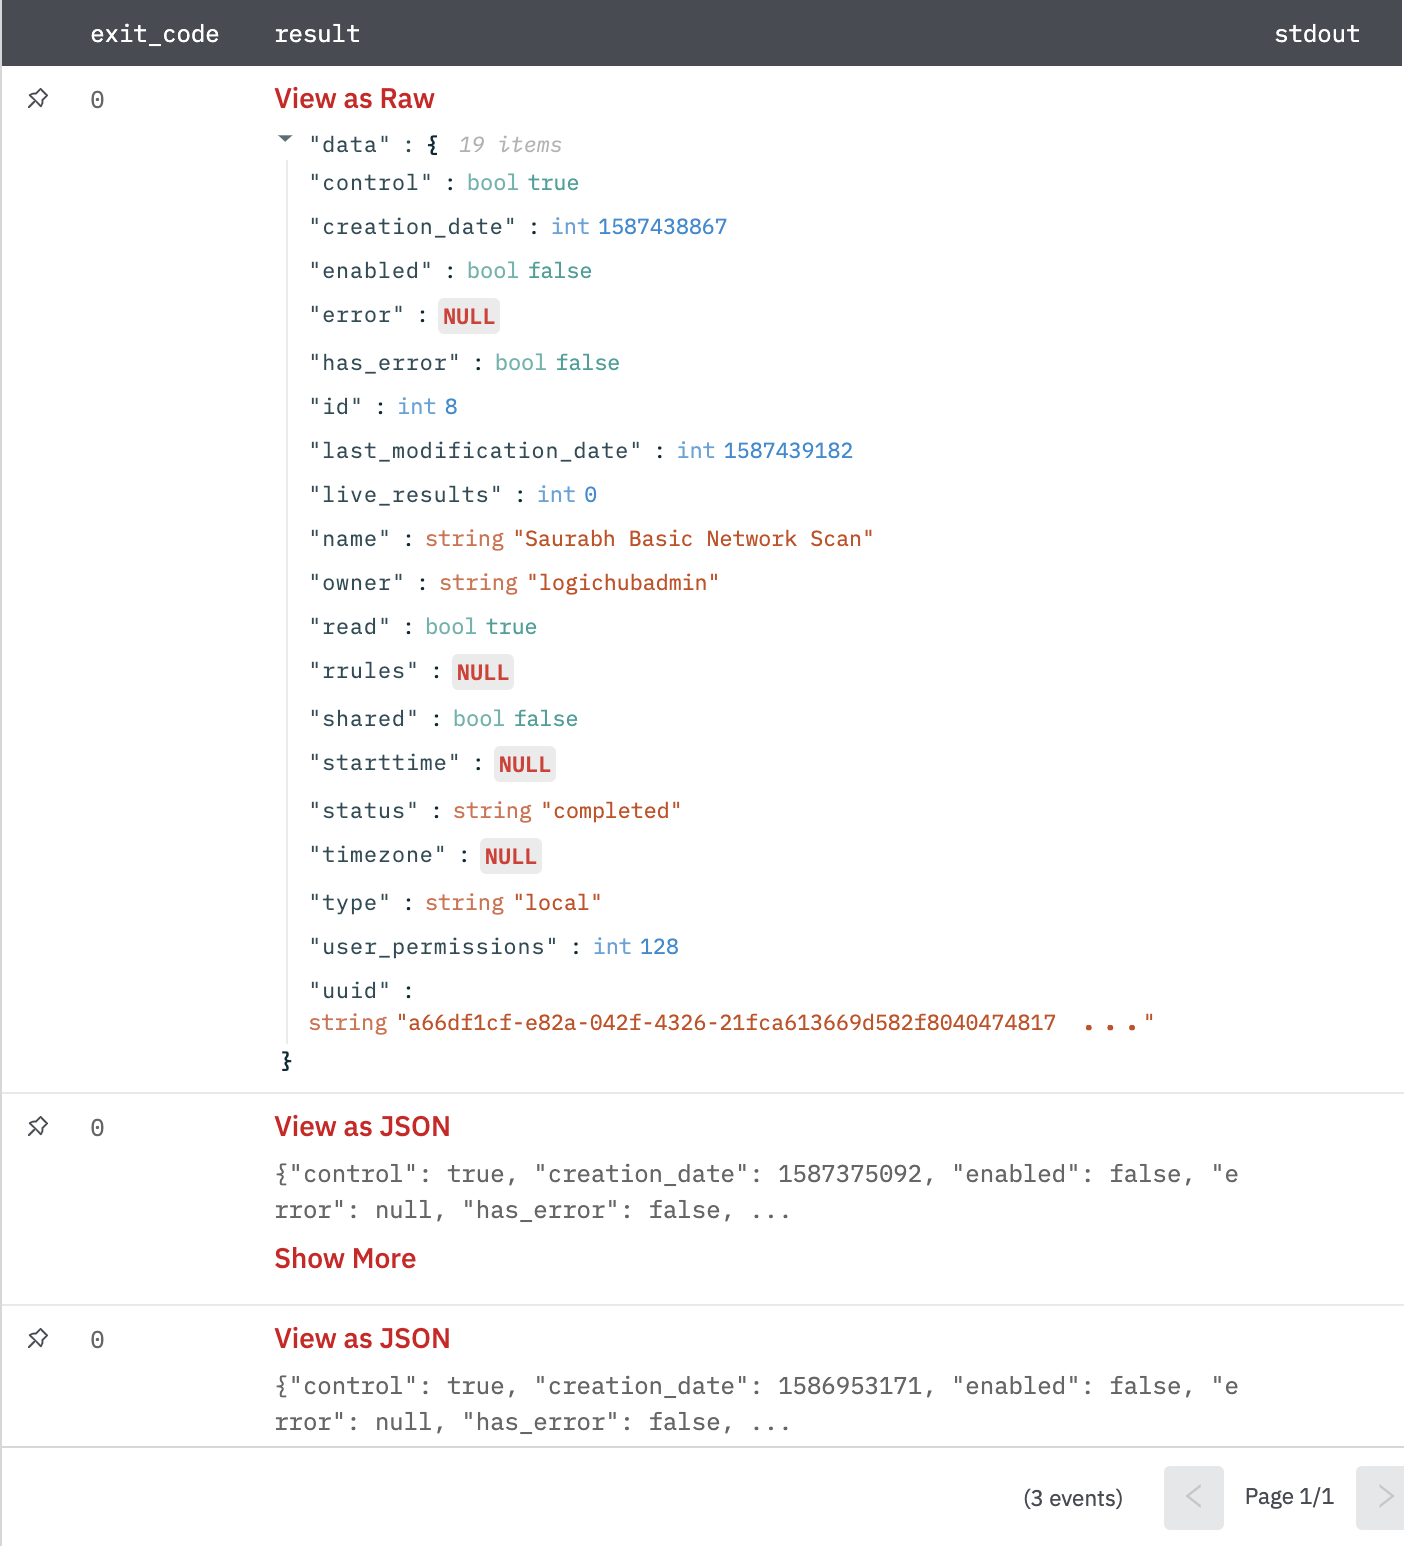
A JSON object containing multiple rows of scan details:
- has_error: True/False
- error: message/null
- other keys of Scan details
Scan Status
Gets the status for a scan (completed, aborted, imported, pending, running, resuming, canceling, canceled, pausing, paused, stopping, stopped).
Input Field
Choose a connection that you have previously created and then fill in the necessary information in the following input fields to complete the connection.
| Input Name | Description | Required |
|---|---|---|
| Scan ID | Select column that contains the ID of the scan to retrieve. | Required |
Output
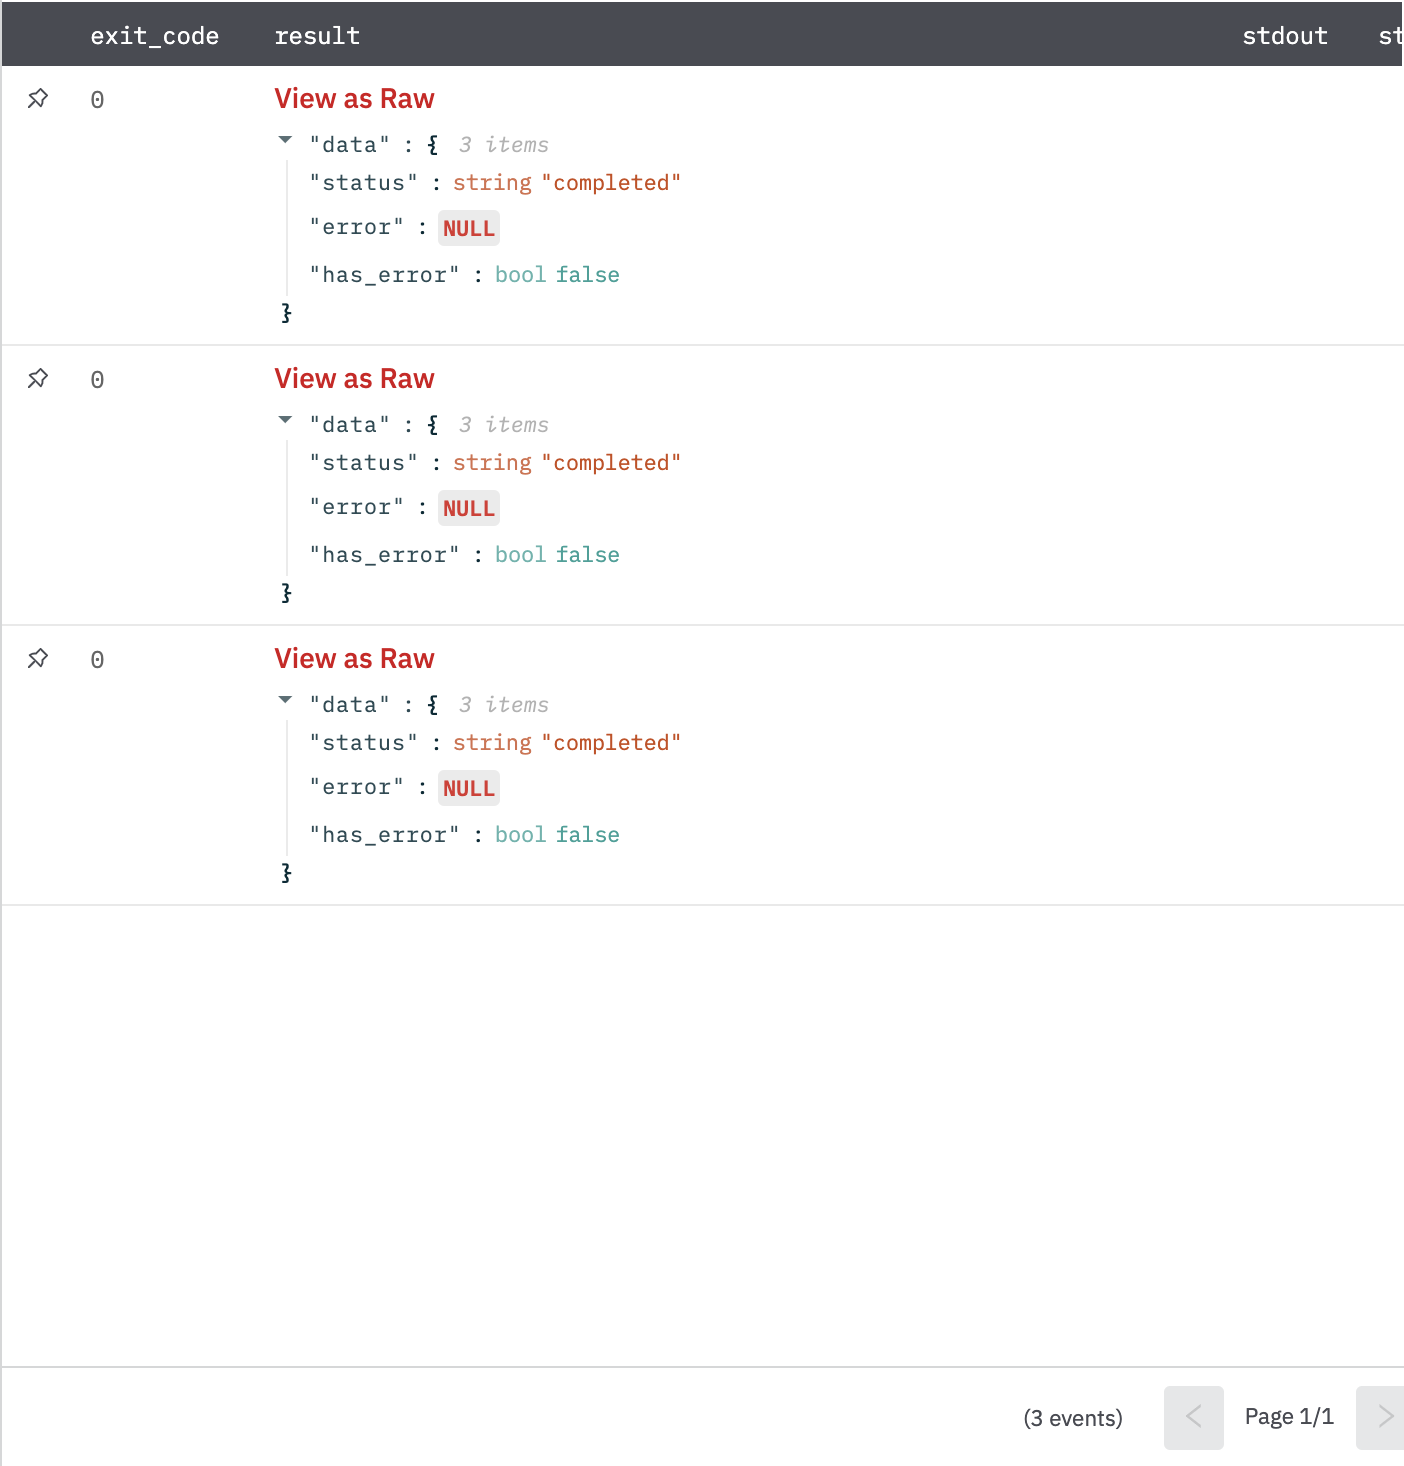
A JSON object containing multiple rows of scan status:
- has_error: True/False
- error: message/null
- status: completed/aborted/imported/pending/running/resuming/canceling/cancelled/pausing/paused/stopping/stopped
Scan Details
Gets detail for the given scan.
Input Field
Choose a connection that you have previously created and then fill in the necessary information in the following input fields to complete the connection.
| Input Name | Description | Required |
|---|---|---|
| Scan ID | Select column that contains the ID of the scan to retrieve. | Required |
| History ID | Select column that contains the historical ID of the historical data that should be returned. | Optional |
| Limit | Specify the maximum number of hosts that should be returned. | Optional |
Output
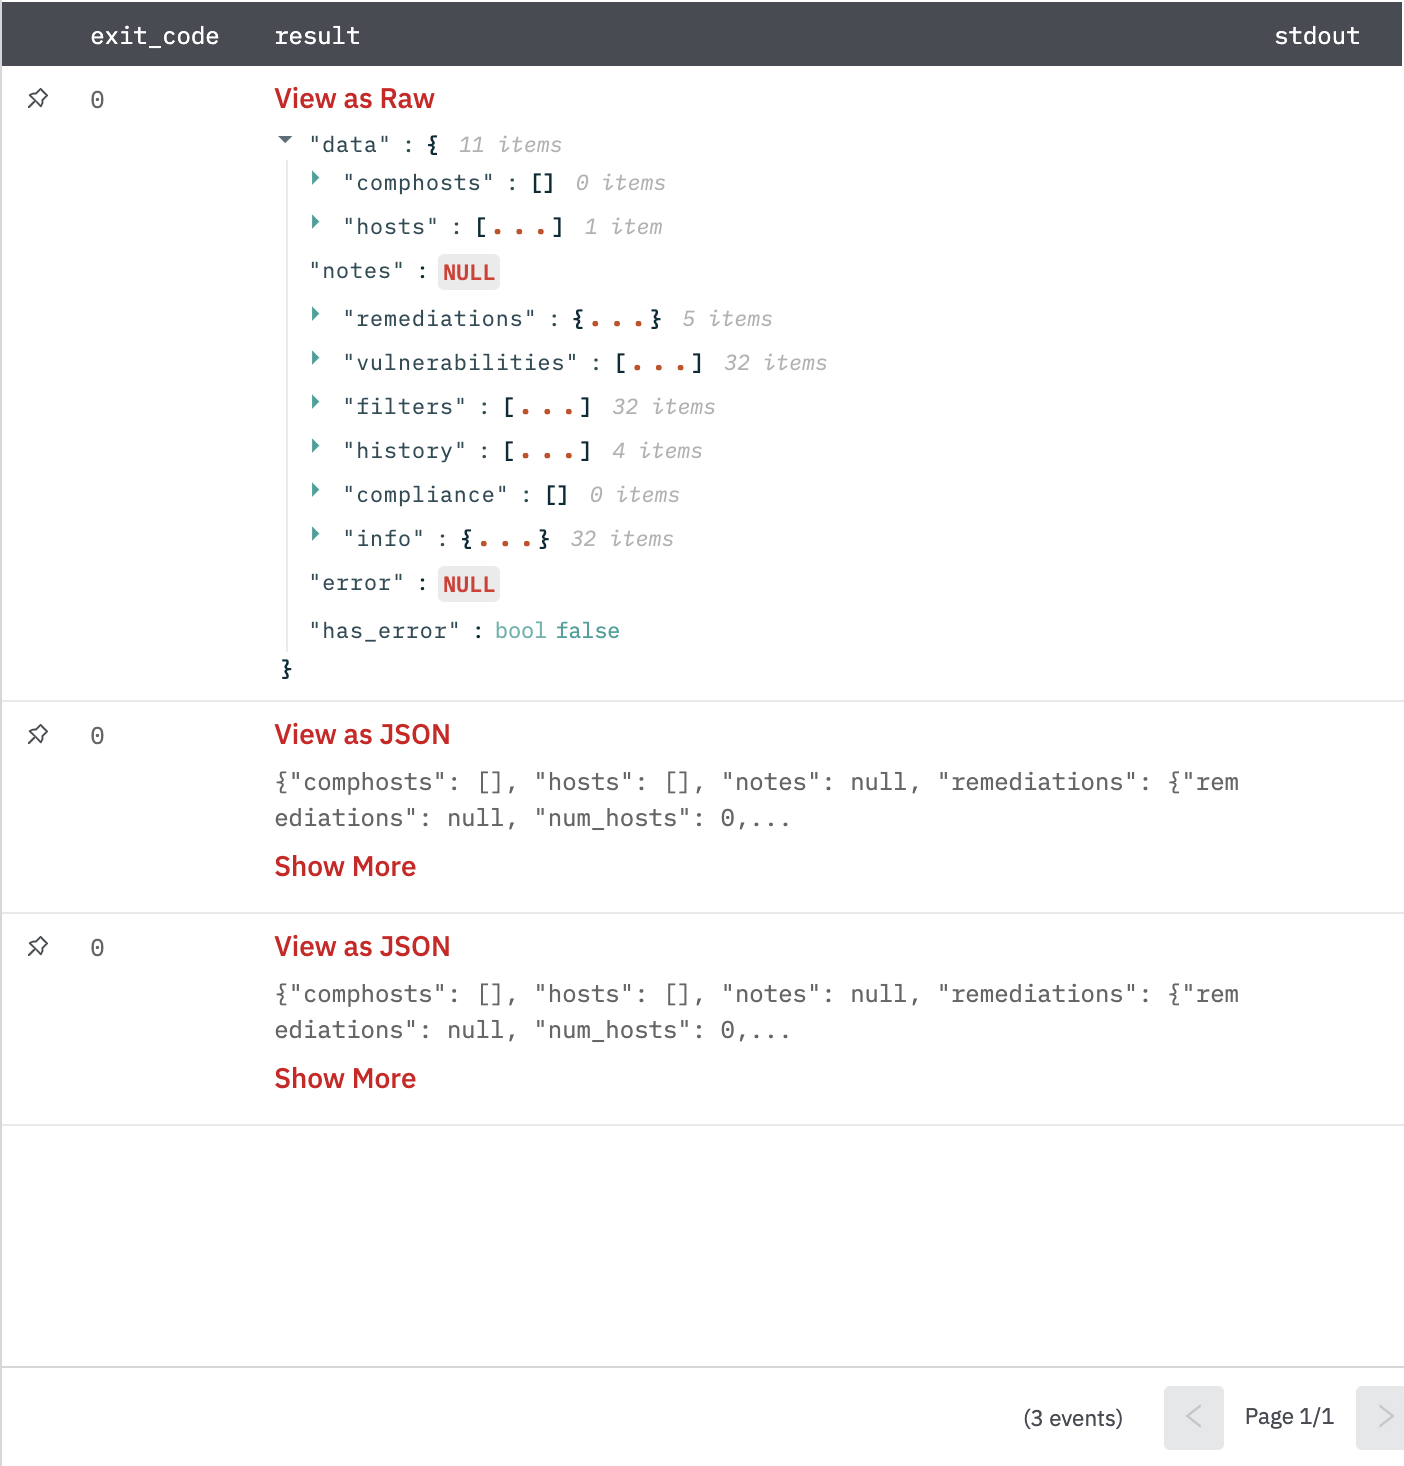
A JSON object containing multiple rows of scan details:
- has_error: True/False
- error: message/null
- other keys of scan details.
Scan Host Details
Gets detail for the given scan host.
Input Field
Choose a connection that you have previously created and then fill in the necessary information in the following input fields to complete the connection.
| Input Name | Description | Required |
|---|---|---|
| Scan ID | Select column that contains the ID of the scan to retrieve. | Required |
| Host ID | Select column that contains the ID of the scan host to retrieve. | Required |
| History ID | Select column that contains the historical ID of the historical data that should be returned. | Optional |
Output
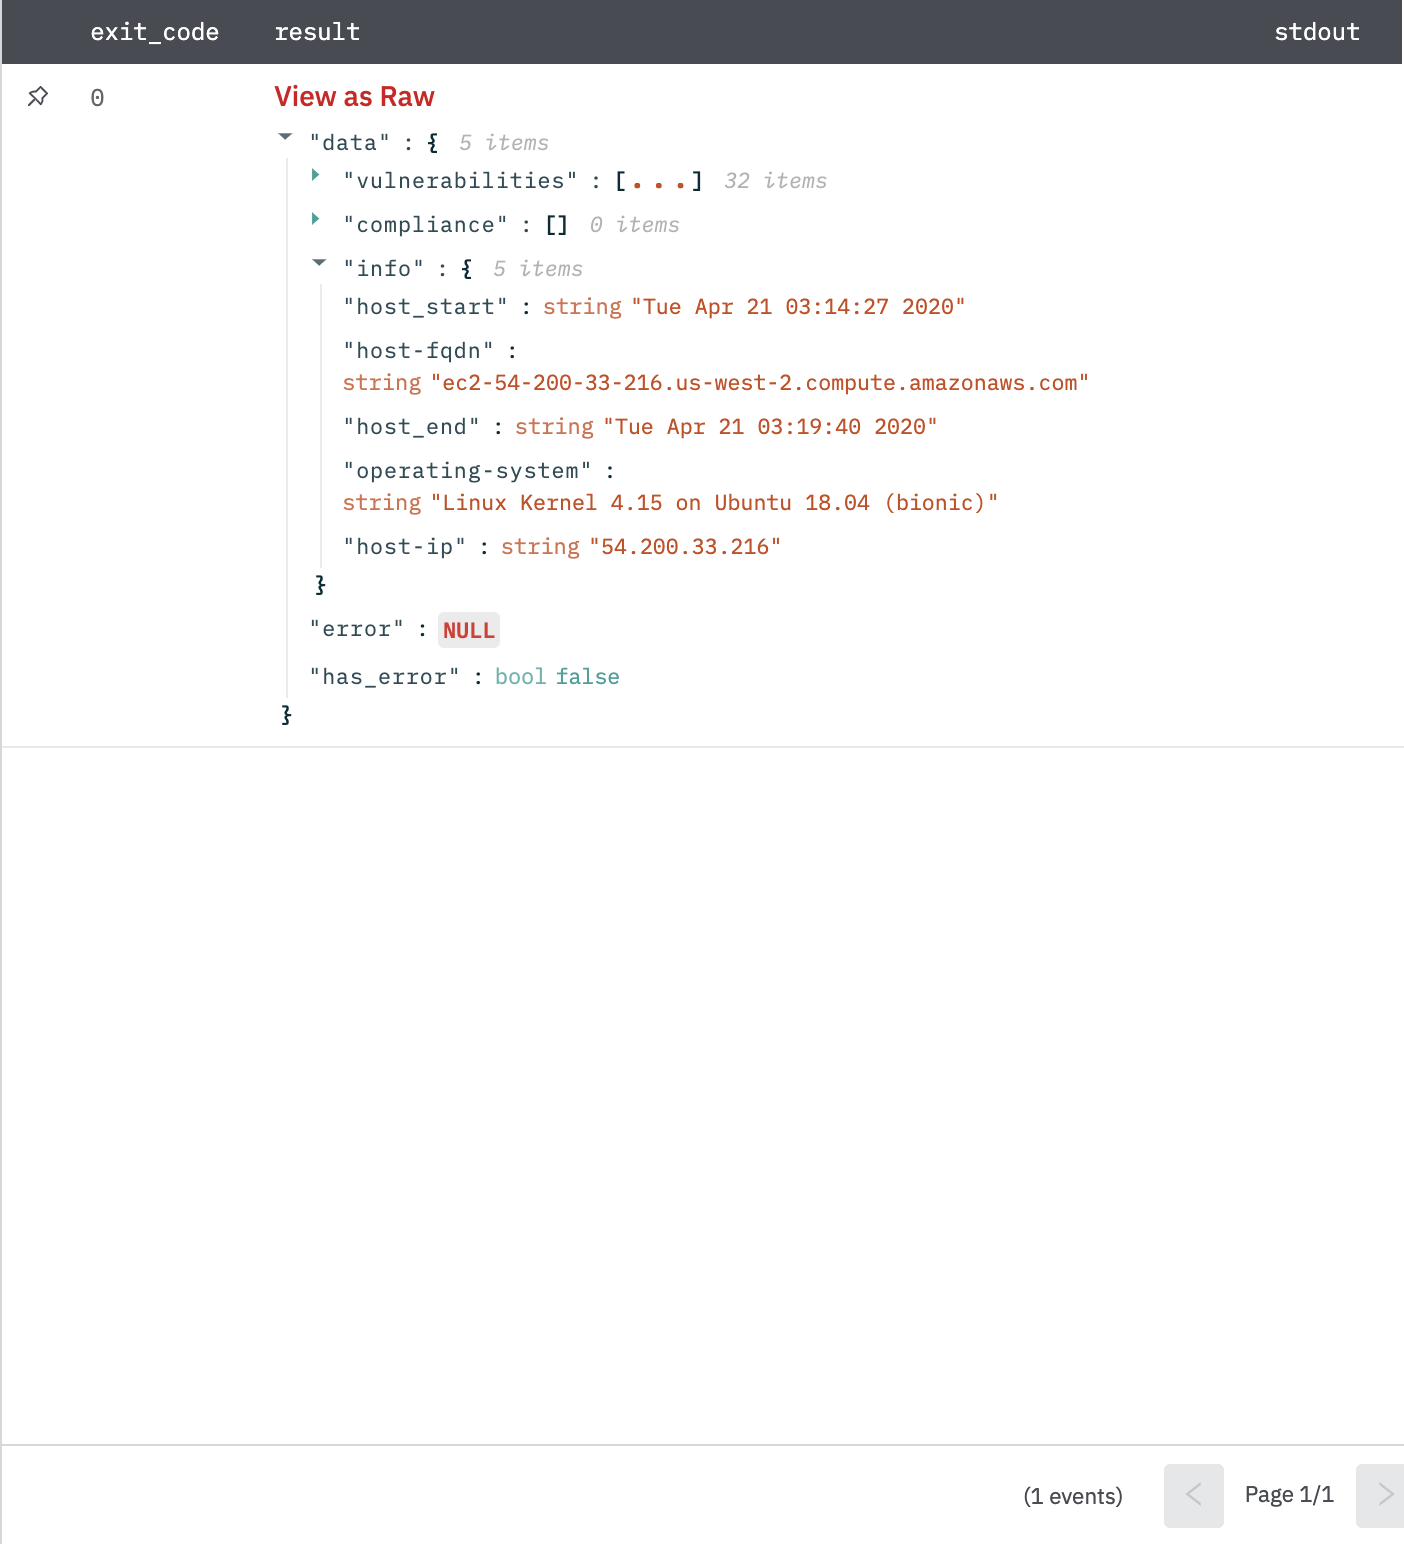
A JSON object containing multiple rows of scan host details:
- has_error: True/False
- error: message/null
- other keys of scan host details.
Launch Scan
Launches a Scan identified by Scan ID.
Input Field
Choose a connection that you have previously created and then fill in the necessary information in the following input fields to complete the connection.
| Input Name | Description | Required |
|---|---|---|
| Scan ID | Select column that contains the ID of the scan to launch. | Required |
| Alternative Targets | Select column that contains comma-separated alternative targets to scan. If specified, these targets will be scanned instead of the default. | Optional |
Output
A JSON object containing multiple rows of scan UUID:
- has_error: True/False
- error: message/null
- scan_uuid: string
List Scan Templates
Lists Tenable-provided scan templates. Tenable provides a number of scan templates to facilitate the creation of scans and scan policies.
Input Field
Choose a connection that you have previously created and then fill in the necessary information in the following input fields to complete the connection.
| Input Name | Description | Required |
|---|---|---|
| Template Type | Select the type of templates to retrieve Scan/Policy. | Required |
Output
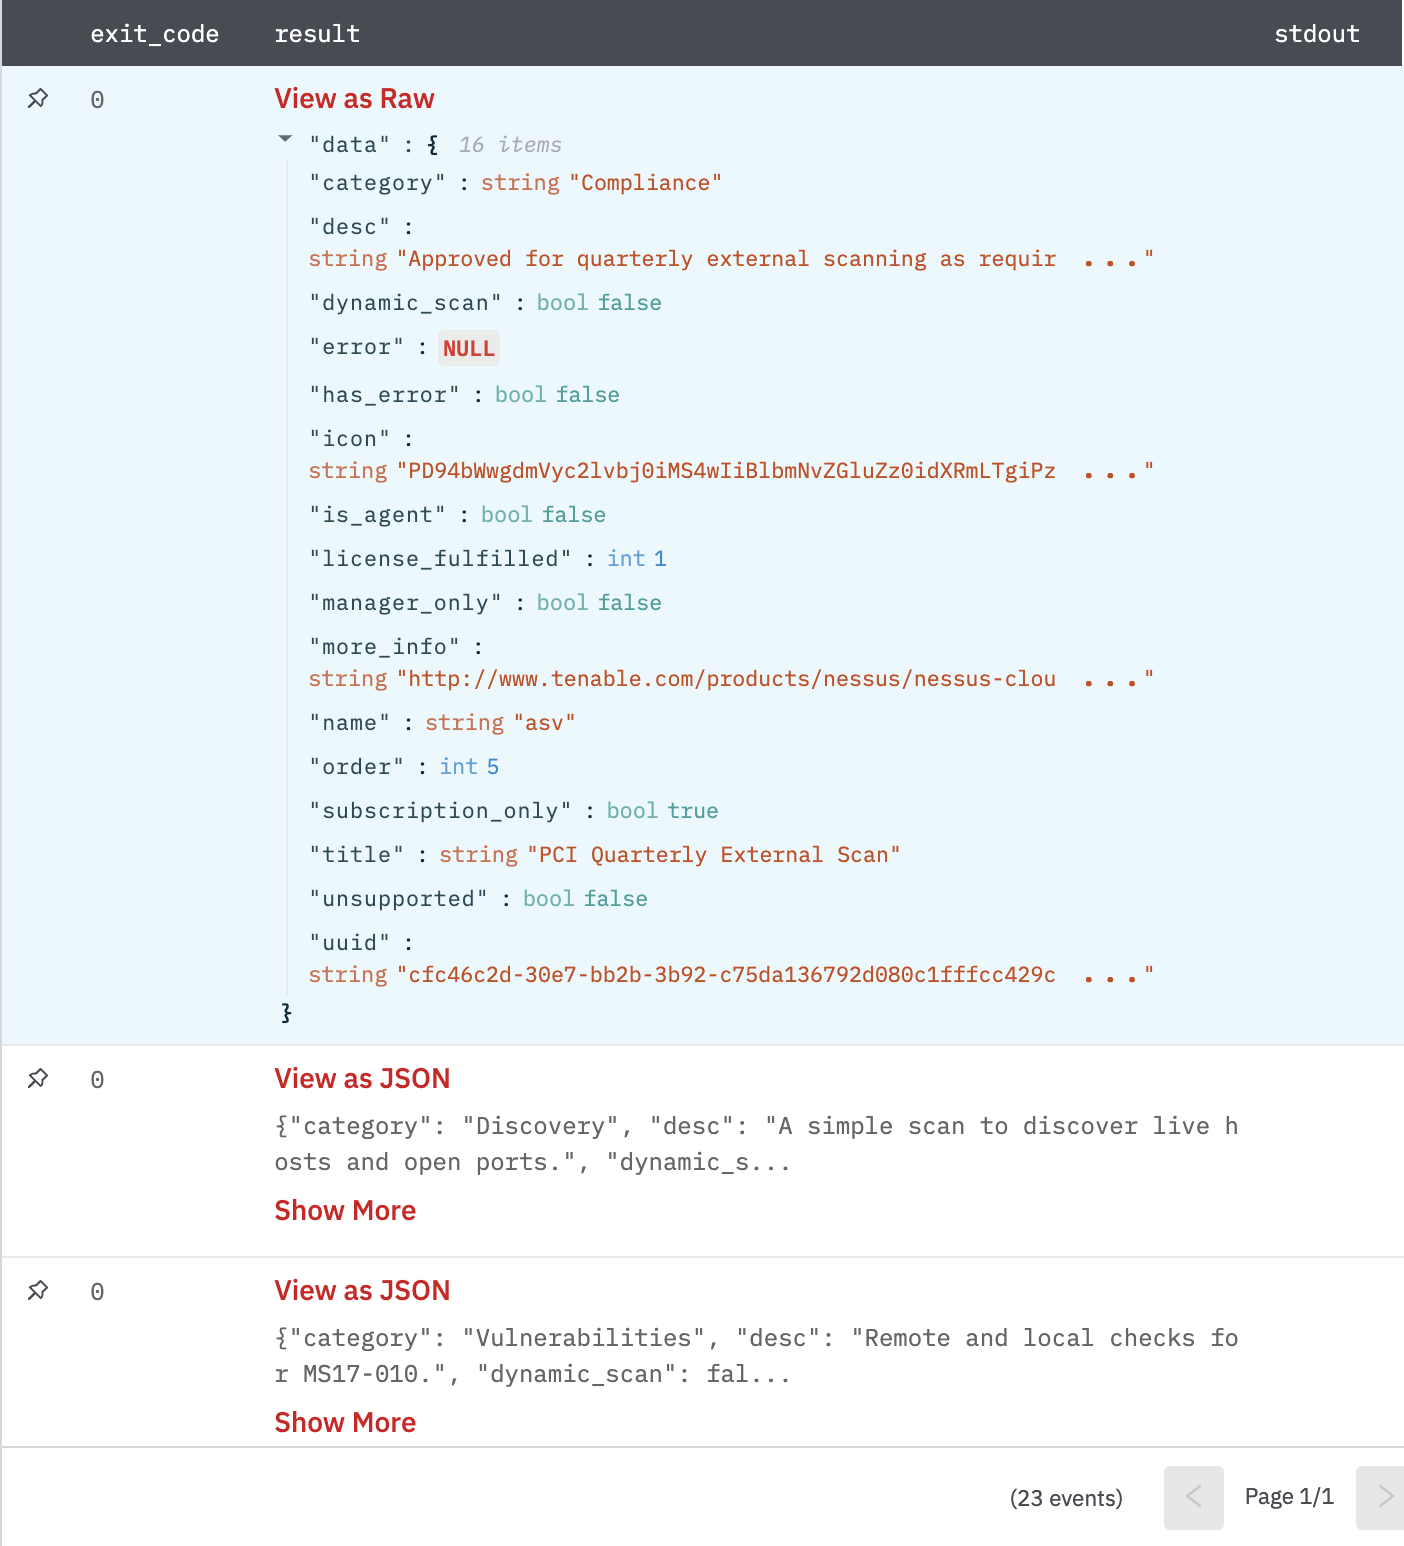
A JSON object containing multiple rows of scan templates:
- has_error: True/False
- error: message/null
- other keys of scan template.
Template Details
Gets detail for the given scan template.
Input Field
Choose a connection that you have previously created and then fill in the necessary information in the following input fields to complete the connection.
| Input Name | Description | Required |
|---|---|---|
| Template Type | Select the type of templates to retrieve Scan/Policy. | Required |
| Template UUID | Select a column that contains the UUID of the template. | Required |
Output
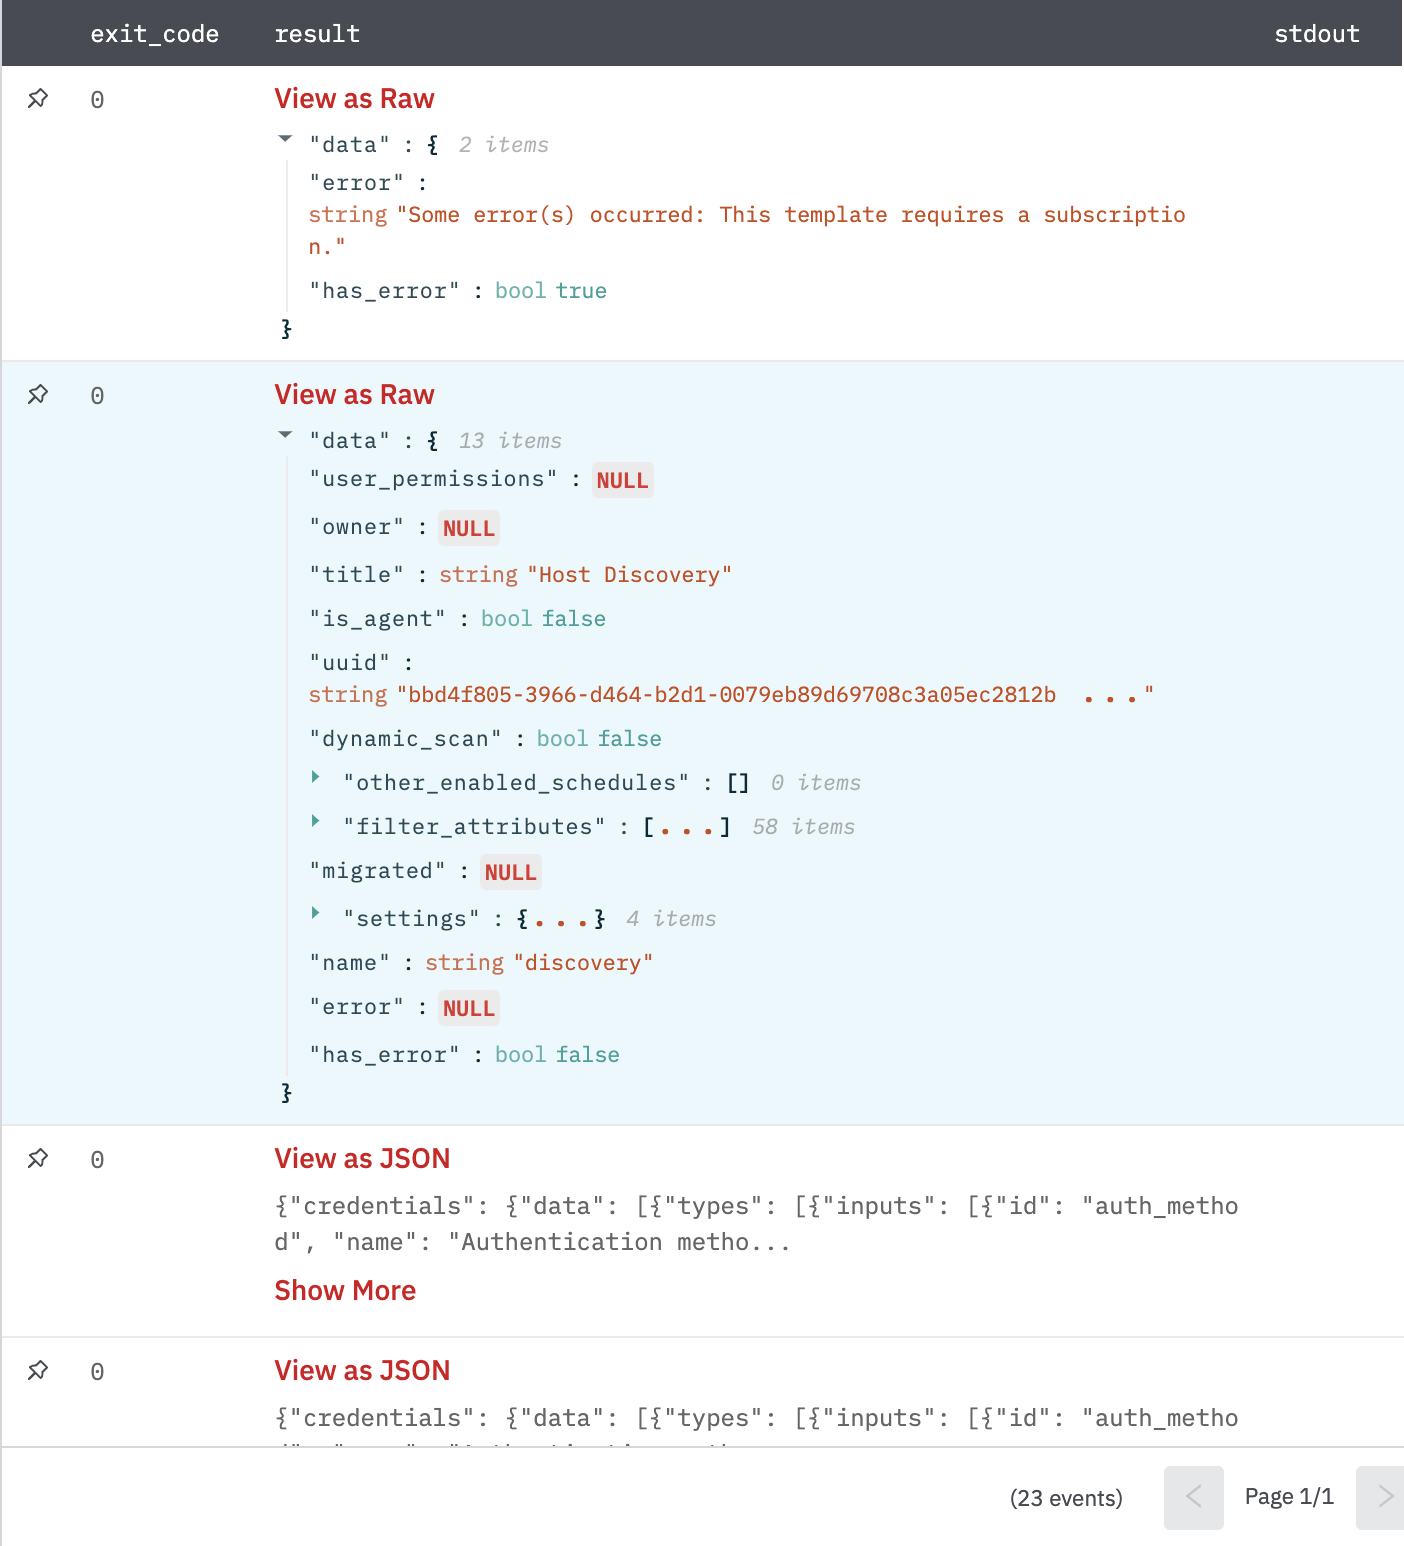
A JSON object containing multiple rows of scan template details:
- has_error: True/False
- error: message/null
- other keys of template details.
Create Scan
Creates a Nessus Scan. A minimum set of inputs to create a basic scan is asked directly. For advanced usage, use the Raw Configuration input.
Input Field
Choose a connection that you have previously created and then fill in the necessary information in the following input fields to complete the connection.
| Input Name | Description | Required |
|---|---|---|
| Template UUID | Select column that contains UUID of the editor template to use. | Optional |
| Settings: Name | Enter the jinja-templated name of the Scan. Example: 'Vuln Scan V{{index_column}}' | Optional |
| Settings: Enabled | Select (True/False) whether to enable the schedule for the scan. | Optional |
| Settings: Targets | Select column that contains comma-separated targets to scan. | Optional |
| Raw Configuration | Jinja-templated JSON configuration for creating the scan. Use this if you want to provide extra Settings or when you're using an editor template and it is required that all fields returned in Template Details must be sent. Using this field will discard the above inputs. (Refer: /api#/resources/scans/create). | Optional |
Example:
```
{
  "uuid": "{{template_uuid}}",
  "settings": {
    "name": "{{name}}",
    "description": "{{description}}",
    "emails": "{{emails}}",
    "enabled": "true",
    "launch": "ON_DEMAND/DAILY/WEEKLY/MONTHLY/YEARLY",
    "folder_id": "{{folder_id}}",
    "policy_id": "{{policy_id}}",
    "scanner_id": "{{scanner_id}}",
    "text_targets": "{{targets}}",
    "agent_group_id": []
  }
}
```
Output
A JSON object containing created scan details:
- has_error: True/False
- error: message/null
- other keys of created scan details.
Example:
```
{
    "scan": {
        "creation_date": {integer},
        "custom_targets": {string},
        "default_permisssions": {integer},
        "description": {string},
        "emails": {string},
        "id": {integer},
        "last_modification_date": {integer},
        "name": {string},
        "notification_filter_type": {string},
        "notification_filters": {string},
        "owner": {string},
        "owner_id": {integer},
        "policy_id": {integer},
        "enabled": {boolean},
        "rrules": {string},
        "scanner_id": {integer},
        "shared": {integer},
        "starttime": {string},
        "tag_id": {integer},
        "timezone": {string},
        "type": {string},
        "user_permissions": {integer},
        "uuid": {string}
    }
}
```
Scan Export Create
Creates an export request for the given scan. Use the Scan Report Download action to download the report upon completion.
Input Field
Choose a connection that you have previously created and then fill in the necessary information in the following input fields to complete the connection.
| Input Name | Description | Required |
|---|---|---|
| Scan ID | Select column that contains the ID of the scan to export. | Required |
| History ID | Select column that contains the historical ID of the historical data that should be exported. | Optional |
| Format | Select file format to use Nessus/HTML/CSV/DB. | Required |
| Password | Select column containing the password that will be used to encrypt database (DB) exports. In case if it is not specified or a blank column-value is encountered, a random password will be used. | Optional |
| Additional Configuration | Provide jinja-templated additional configuration for filters or formatting options. (Refer: /api#/resources/scans/export-request). | Optional |
Output
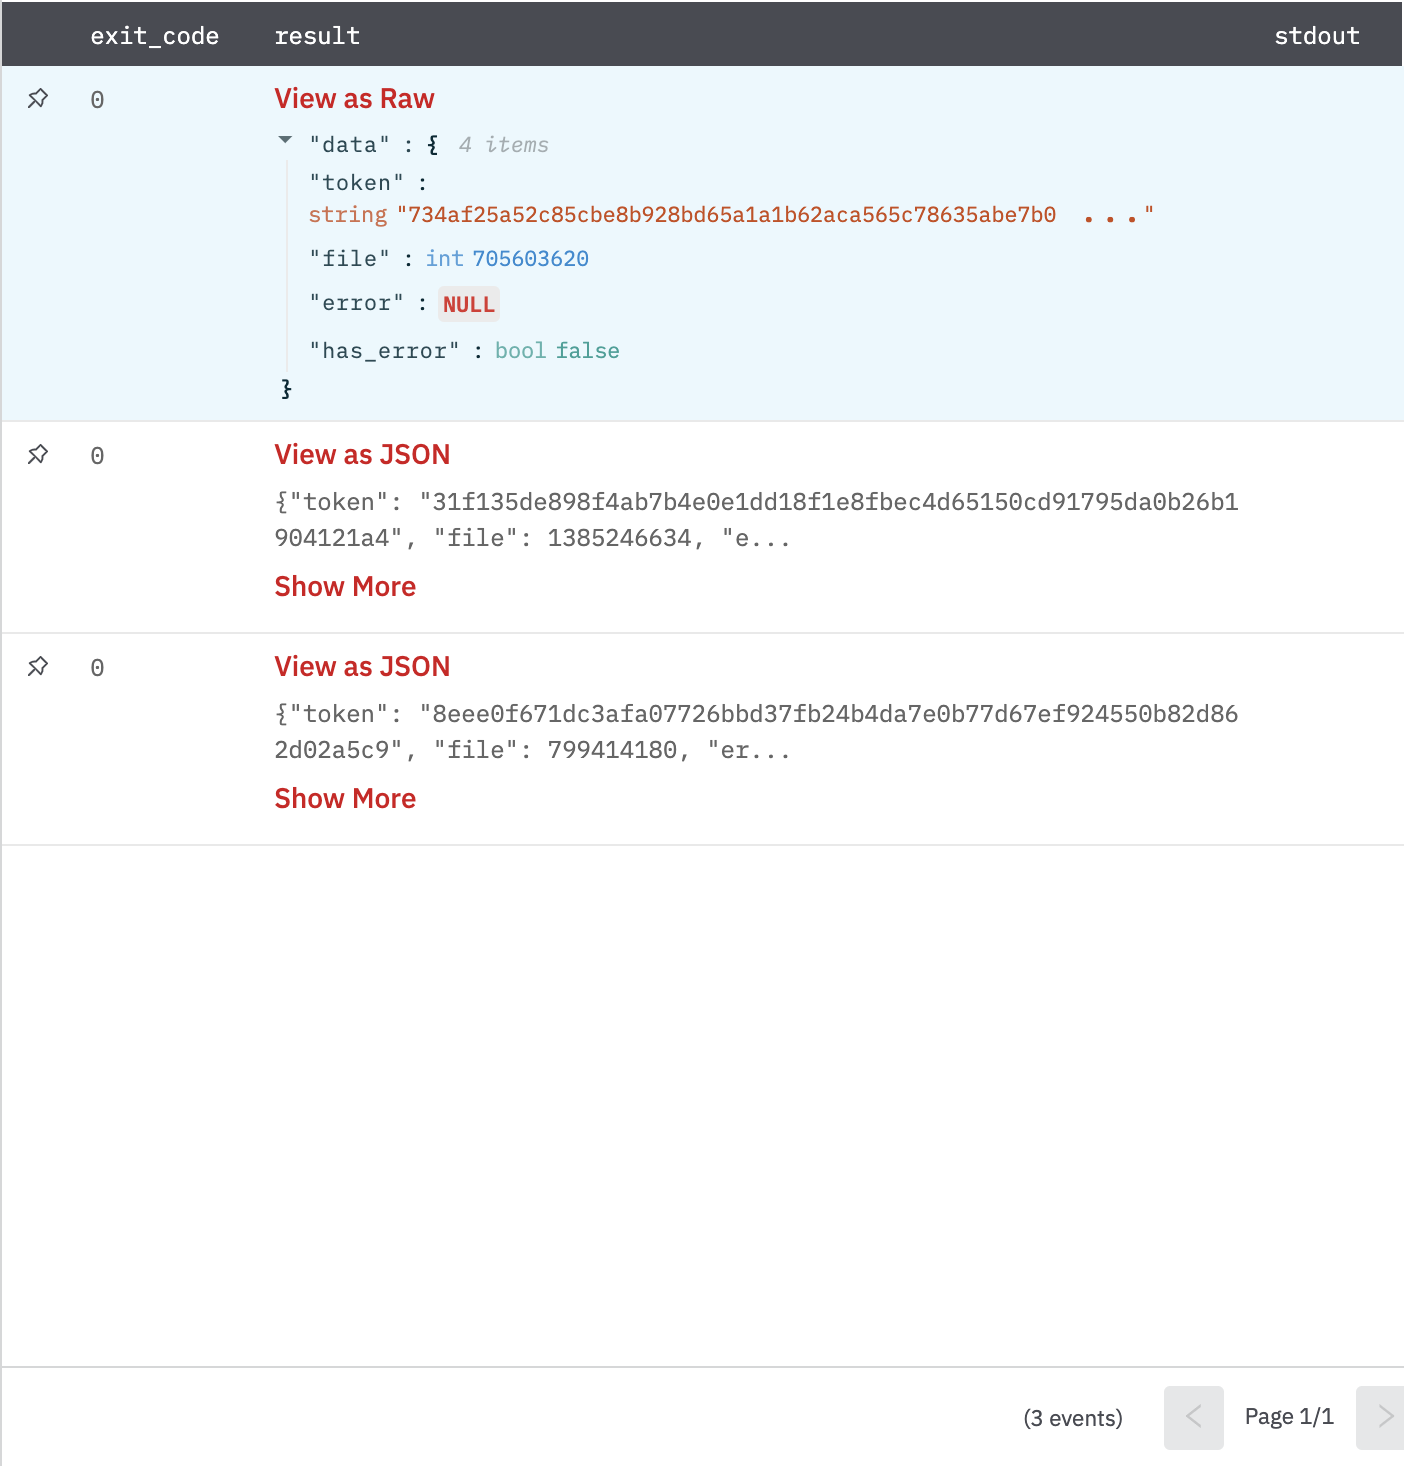
A JSON object containing export details:
- has_error: True/False
- error: message/null
- other keys of export details.
Scan Export Status
Check the file status of an exported scan.
Input Field
Choose a connection that you have previously created and then fill in the necessary information in the following input fields to complete the connection.
| Input Name | Description | Required |
|---|---|---|
| Scan ID | Select column that contains the ID of the scan to export. | Required |
| File ID | Select column that contains the ID of the file (got in Export Create Action). | Required |
Output
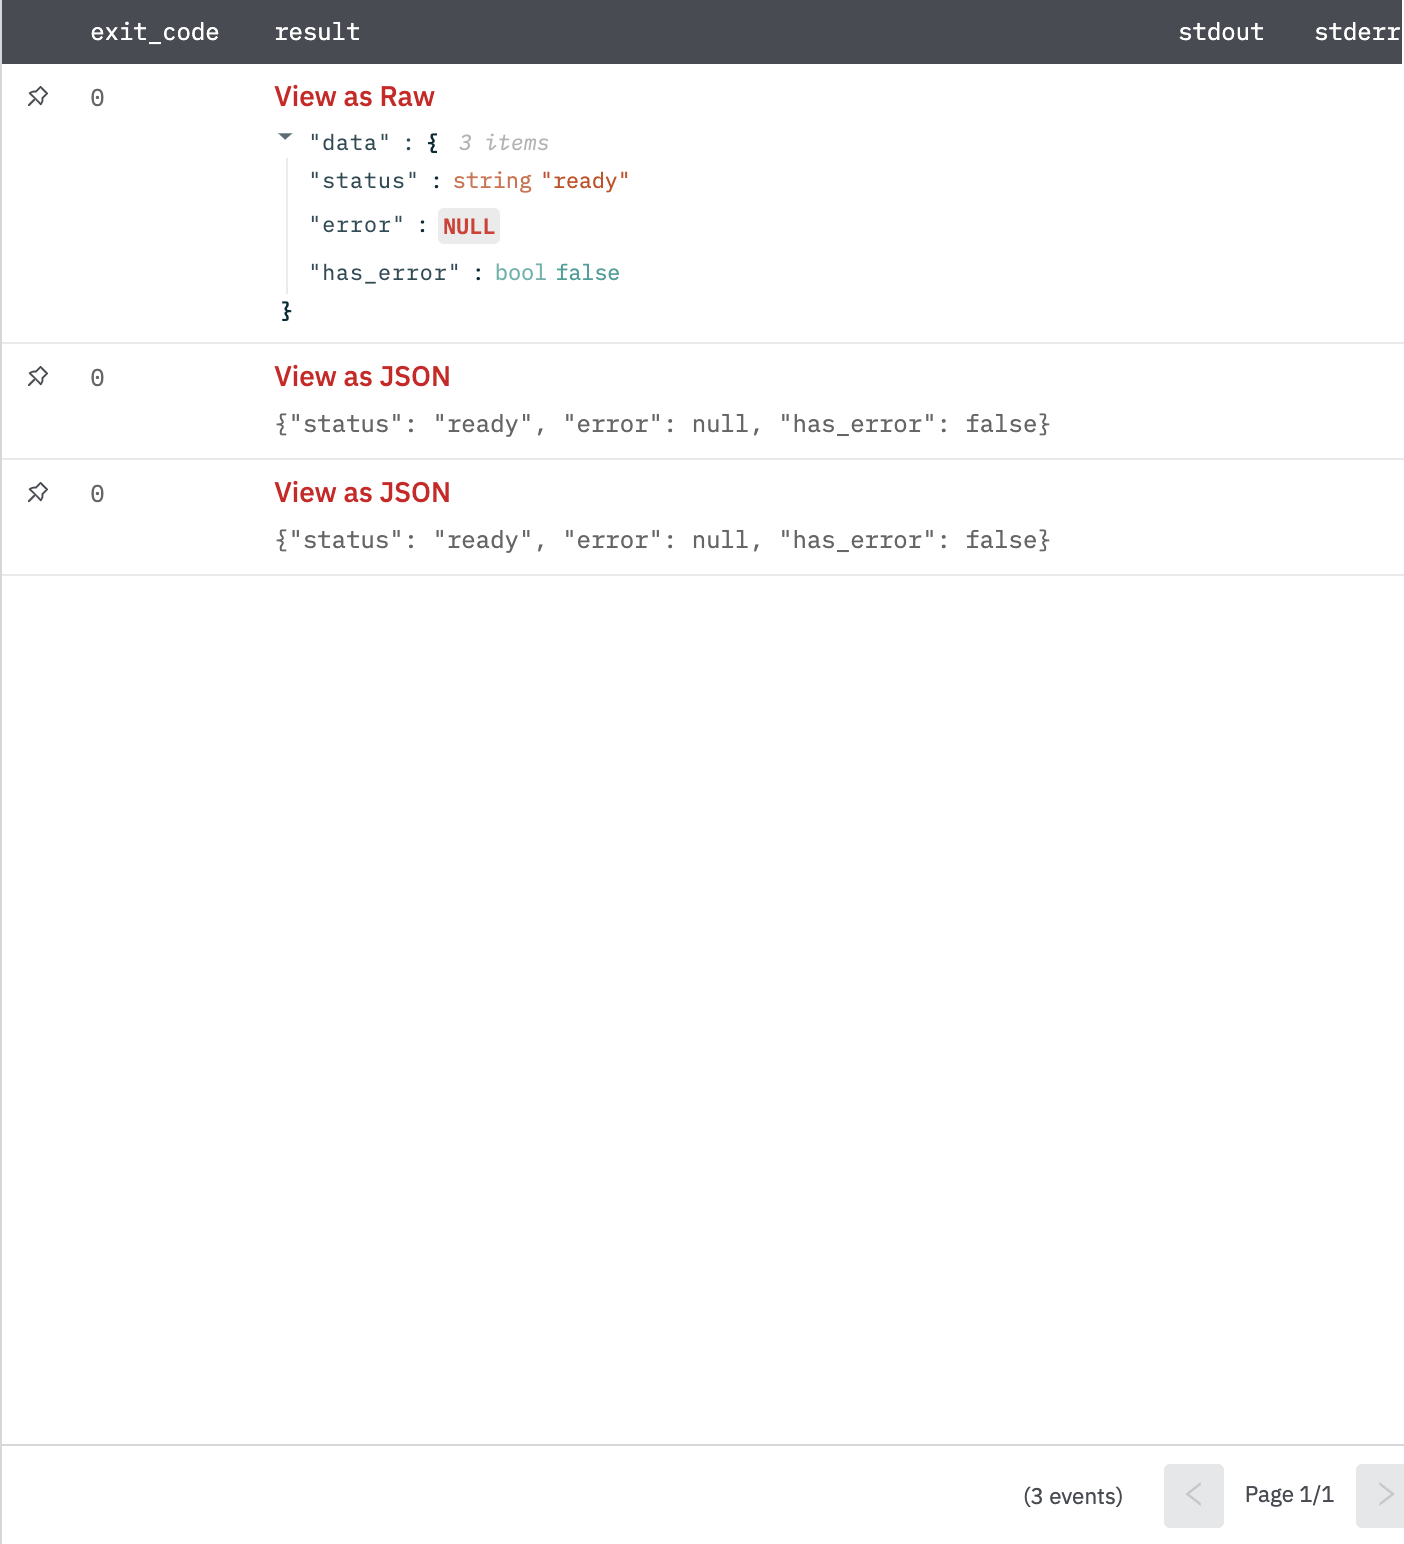
A JSON object containing export status:
- has_error: True/False
- error: message/null
- status: {string}
Scan Report Download
Downloads the exported scan report.
Input Field
Choose a connection that you have previously created and then fill in the necessary information in the following input fields to complete the connection.
| Input Name | Description | Required |
|---|---|---|
| Scan ID | Select column that contains I=D of the scan to export. | |
| File ID | Select column that contains the ID of the file (got in Export Create Action). | |
| File Extension | Enter extension name of the file. For example: xml, html, csv, db. | Optional |
| Poll Duration | Maximum duration to poll in seconds for 'ready' status of a scan report (per row). (Default is 0 seconds, that is, Don't poll). | Optional |
| Retries | Number of retries to make in poll duration per row. (Default is 0 retries). | Optional |
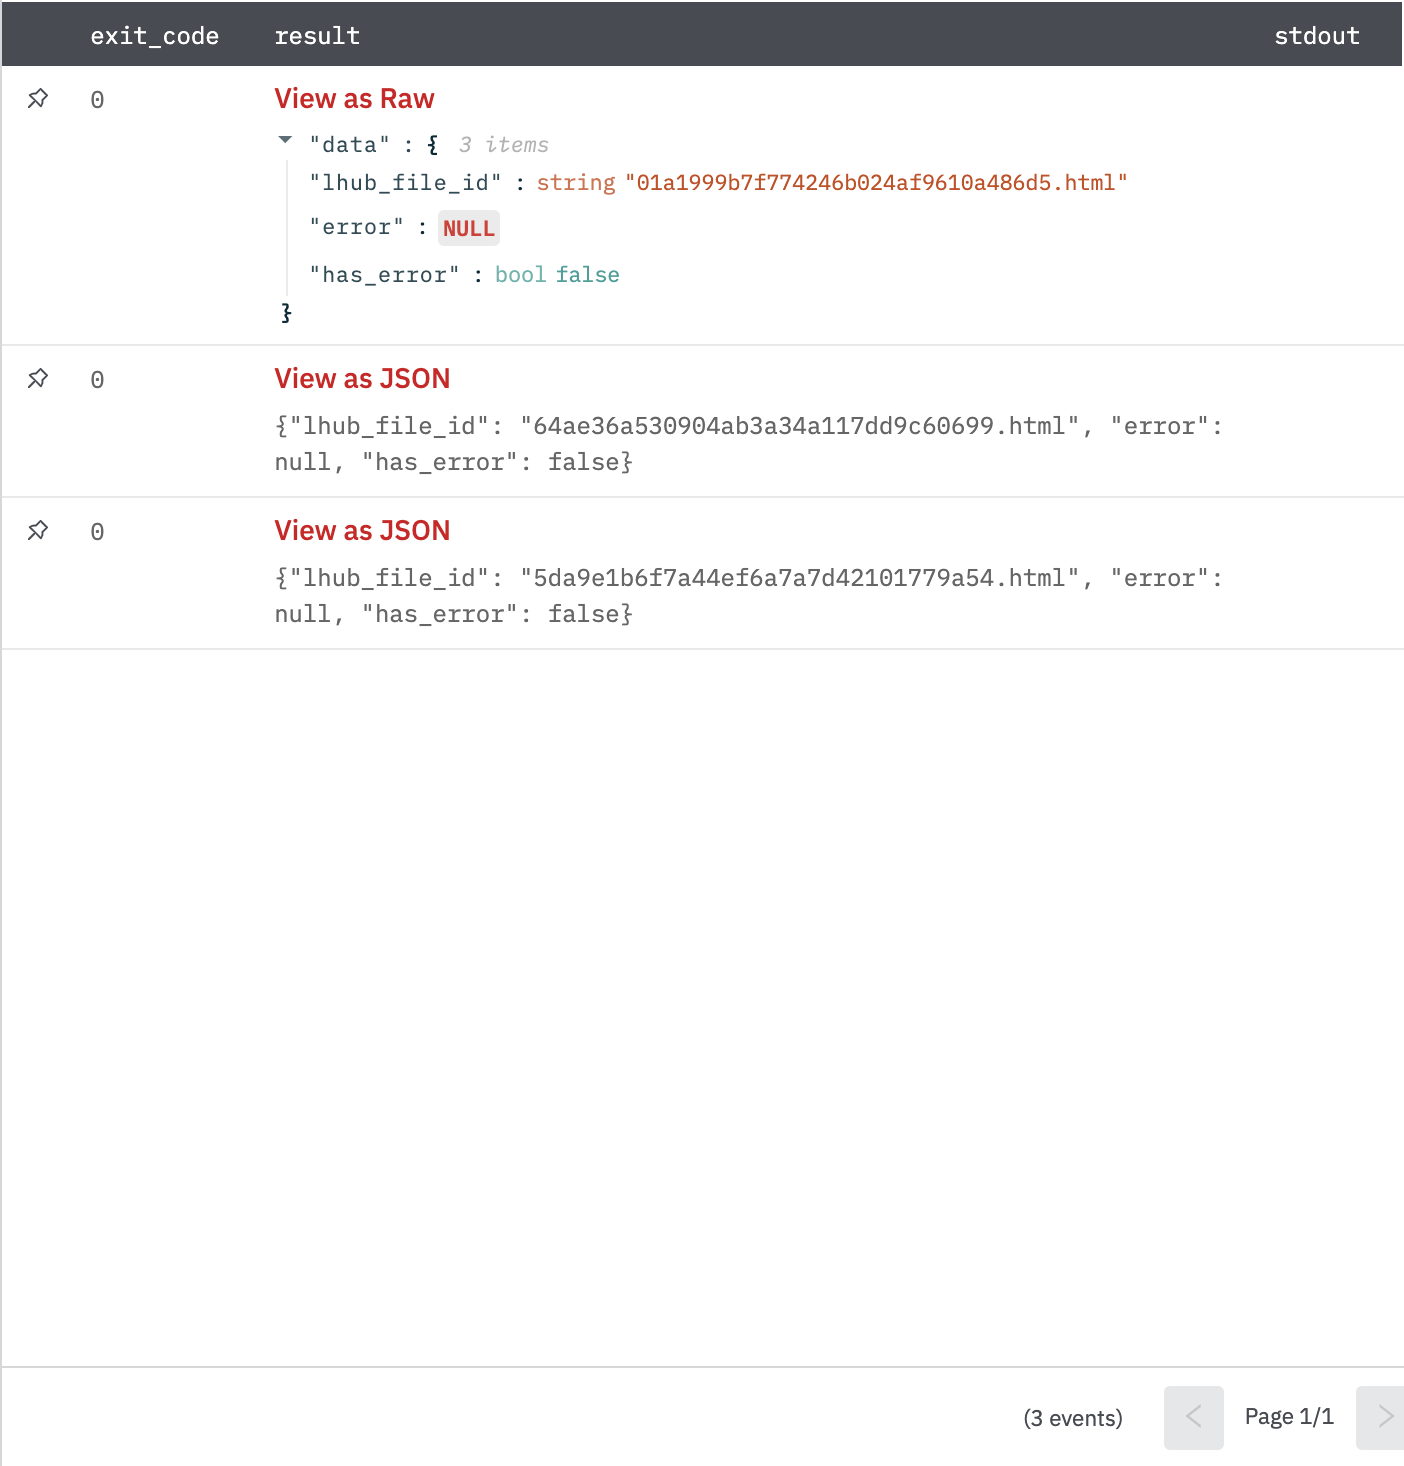
Output
A JSON object containing exported report file details:
- has_error: True/False
- error: message/null
- lhub_file_id: {string}
Updated over 2 years ago