SMTP connections
LogicHub simplifies the configuration by providing preconfigured options for popular SMTP email servers.
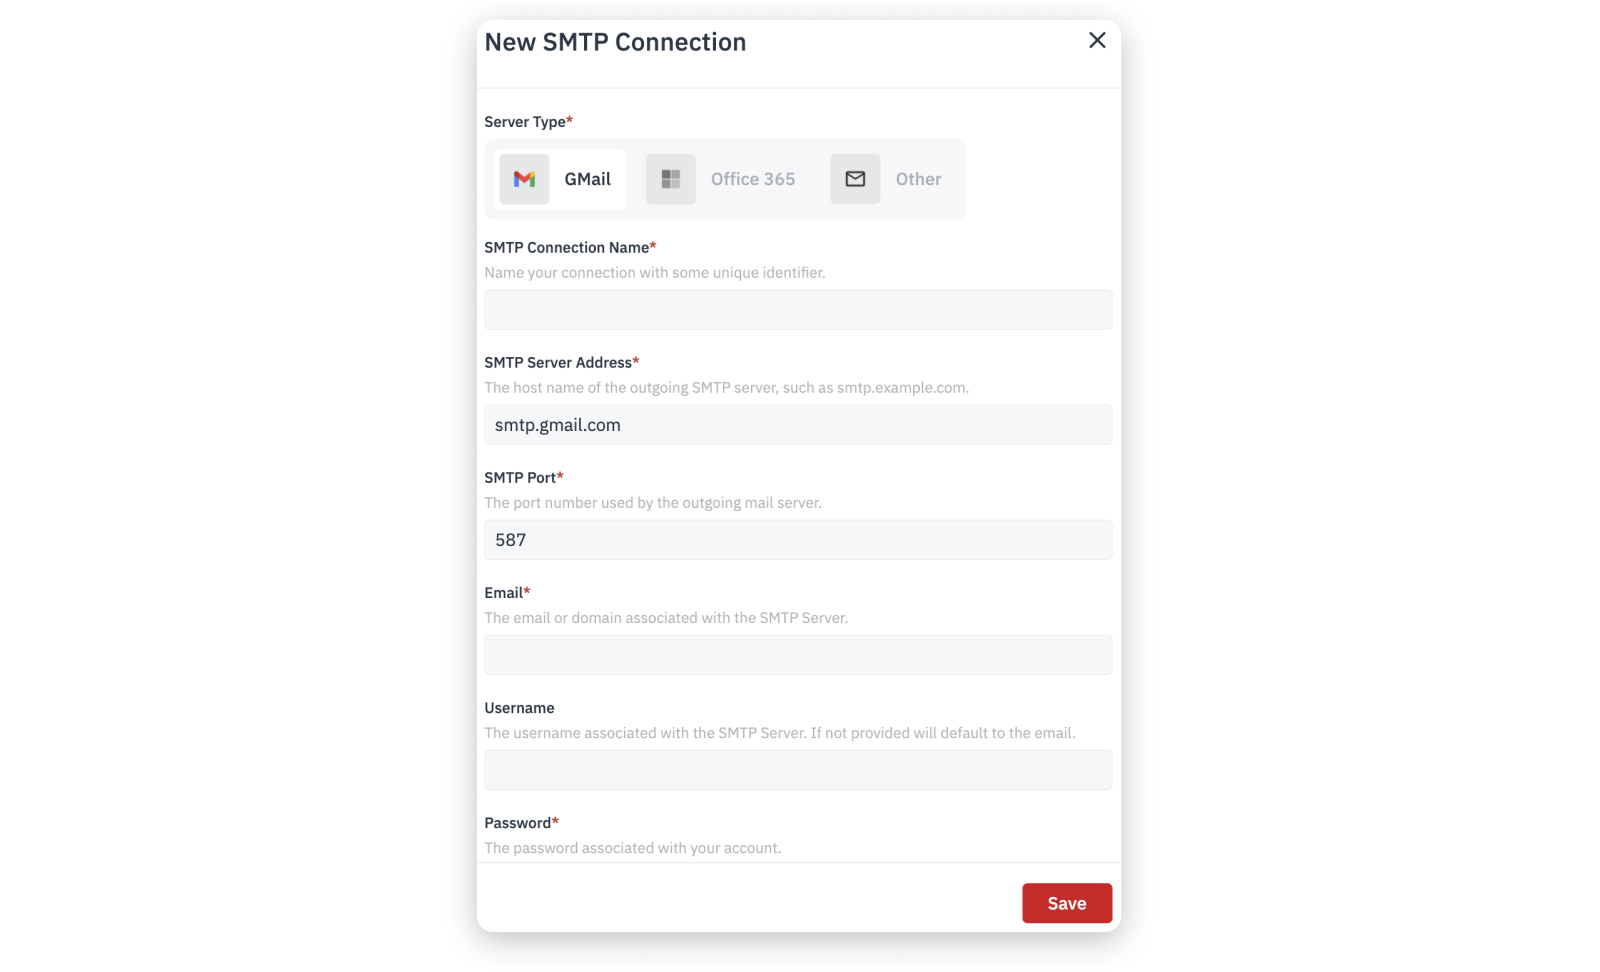
To set up the SMTP Server Connections:
- Navigate to Settings > Advanced Settings on the left navigation.
- Choose SMTP Connections tab and click
New.

- Select one of the following
Server Type:
-
Gmail: Predefined values will be automatically set for SMTP Server Address as
smtp.gmail.com, SMTP Port as587, and Encryption is set asTLS. -
Office 365: Predefined values will be automatically set for SMTP Server Address as
smtp.office365.com, SMTP Port as587, and Encryption is set asTLS.
Recommendation
Maintain the predefined settings encryption type (TLS for port
587, and SSL for port465) and the respective SMTP Server Address as-is while you use the Gmail or Office 365 server types.
- Custom: This option allows you to configure your own SMTP server settings.
- Use the Enable Authentication toggle option to enable or disable the authentication.
- Select
Nonein Encryption drop-down to deactivate the encryption.
-
Name your SMTP connection with a unique identifier.
-
Enter the Email ID or the domain associated with the SMTP server that is to be listed as "From" on the email notifications.
-
Create a new
UsernameandPassword -
Click Save.
To maintain the SMTP Server Connections:
- To Edit/Update the SMTP connections from the existing list, hover and click the respective
Nameof the SMTP Connection. - To make an SMTP Connection default, click the respective three-dot icon (mid-line ellipsis) and select
Make Default. - To delete an SMTP Connection, click the respective three-dot icon (mid-line ellipsis) and select
Delete.
On the list of SMTP Connections, the Email ID from which the notifications will be generated has been assigned with a sign D against the
Name.
Updated over 2 years ago