Use Remote Agent to Access Private Resources Behind a Firewall
The remote agent feature is designed for data that you would like to investigate in LogicHub but can't because it is stored behind your firewall. The remote agent is a lightweight application that you install in your environment to allow access by LogicHub to a location beyond the firewall.
A machine can have only one remote agent installed on it. If you require multiple remote agents, install each on a different machine.
For example, an on-premise Exchange server within your firewall isn't accessible by a LogicHub deployment hosted in AWS. Using the remote agent, you can allow the LogicHub to call the API of the on-premise Exchange server.
To allow access:
- Add a new remote agent.
- Download and install it in your environment.
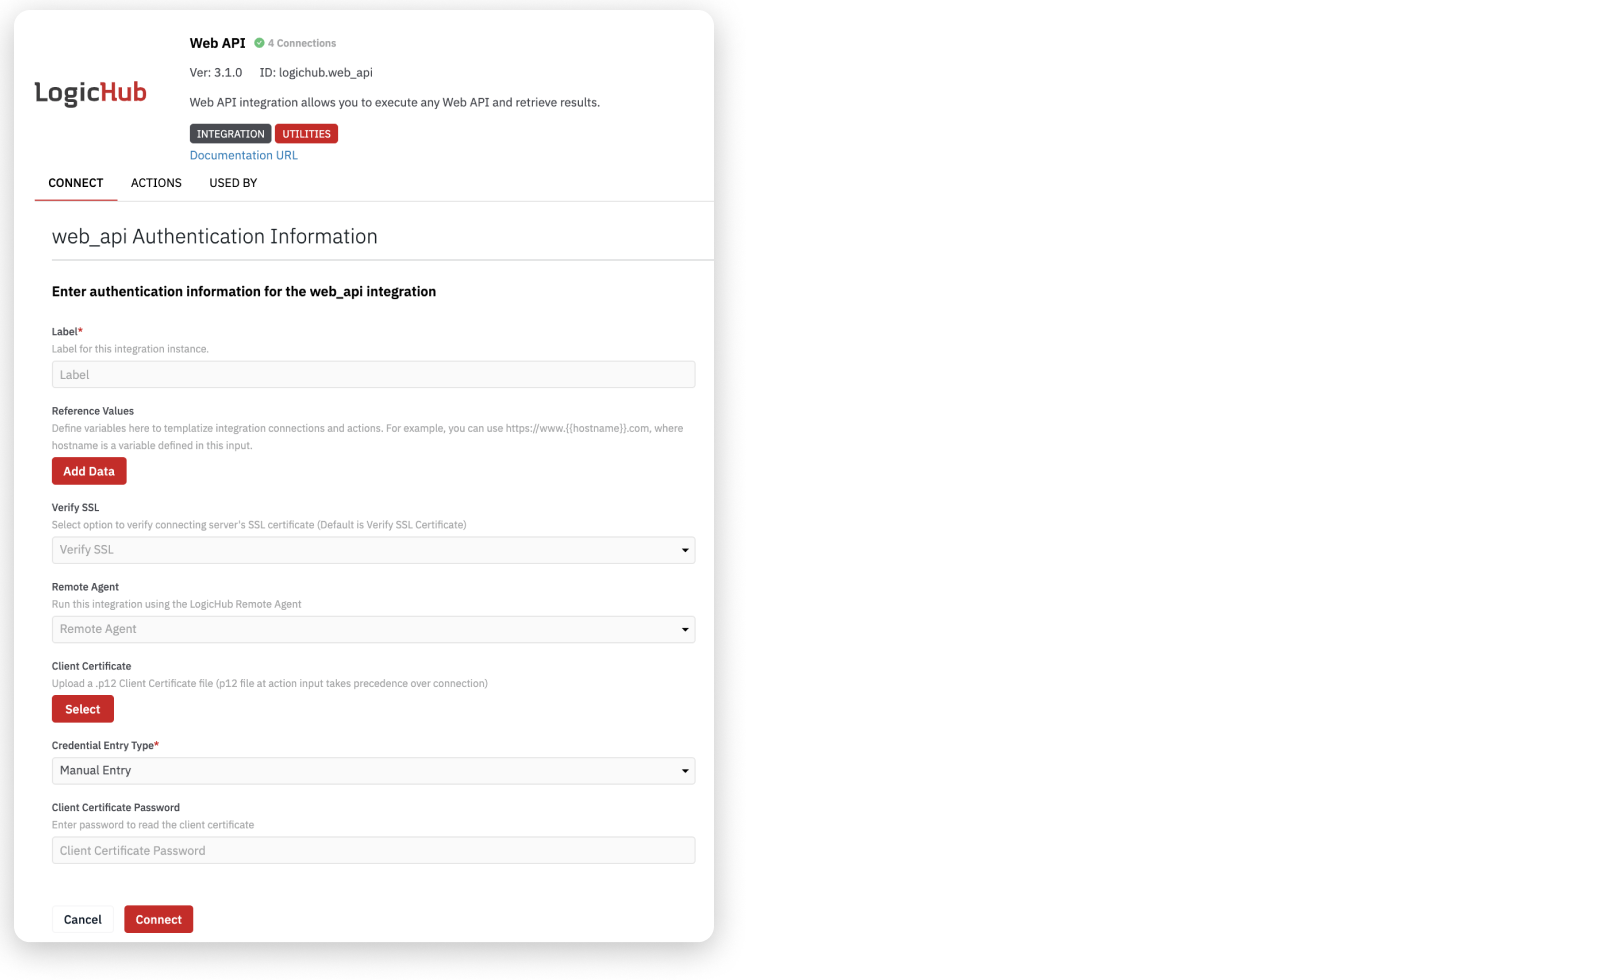
- Select the remote agent when setting up your web API (or other) integration.
A remote agent is always used as part of an integration. If the credentials for your integration are associated with a particular firewall, additional remote agents might be required to provide access to data that is protected by other firewalls.
Outbound Connection
The remote agent makes an outbound connection to port 443 of the LogicHub deployment to establish a secure WebSocket connection with the LogicHub deployment.
Remote Agent High Availability Set Up
LogicHub provides a Remote Agent High Availability (HA) setup that runs on a remote agent with a configuration on two different machines, of which only one of them gets connected to the remote agent service first. The alternate machine attempts to connect every five seconds to avoid any remote agent downtime.
Add a New Remote Agent
- Select Settings > Remote Agents.
- Click New.
- Enter a name to identify the agent, and click Submit.
- The agent is added and listed on the Remote Agents page.
The colored icons associated with the remote agent name indicate the status. Hover over an icon to see the status definition.
- Yellow. The remote agent is not yet connected.
- Green. The remote agent is connected and can be used.
- Red. The remote agent was disconnected due to an error on the remote agent side or LogicHub side. Any connection that uses this agent won’t work. For additional information, see the troubleshooting article.
In addition to the name, the entry for each agent lists the user who created the agent application and the version. Each time the remote agent application is updated, a new version is created.
To delete a remote agent, click the more icon (...) on the right and select Delete.
Add a Remote Agent to an Integration
- On the Automation > Integrations page, search for and select the integration for which you need access beyond a firewall.
- Click Details > Connections and click + to add a new connection.
- Enter a label for the integration and the credentials to authenticate to the application you’re integrating with.
- For Remote Agent, select the remote agent you created or select the appropriate one from the drop-down.

- Click Connect to save the settings and connect integration.
- The integration is now in place and ready for use. Open the Settings > Remote Agents page to view the status of the agent at any point in time. To know more about setting up integrations, see Add an Integration.
Updated over 2 years ago