Choose the Steps you Want to Present
Choose the Steps you Want to Present
Presentation mode allows you to display a selected subset of the steps in your playbook. Presentation mode is useful if you have a large playbook or one that performs multiple functions and wants to focus on a particular area of interest. The playbook itself remains the same. A single click allows you to toggle between displaying the selected steps and displaying the entire playbook by adding tags.
If you have a large playbook, it may be useful to view only a portion of it rather than the complete playbook. This can be accomplished by adding custom tags that make it simple to recognize and group a set of nodes (steps).
How to Tag the Steps to Present
- Open the playbook in Advanced Mode.
- Select the step that you want to include for the presentation.
- On the right pane, in the query area, enter the tag name and press return. You can add multiple tags to add in the presentation.
In the following screenshot, account activity is the name of the node, and balance, and accounts are tags for the selected node.

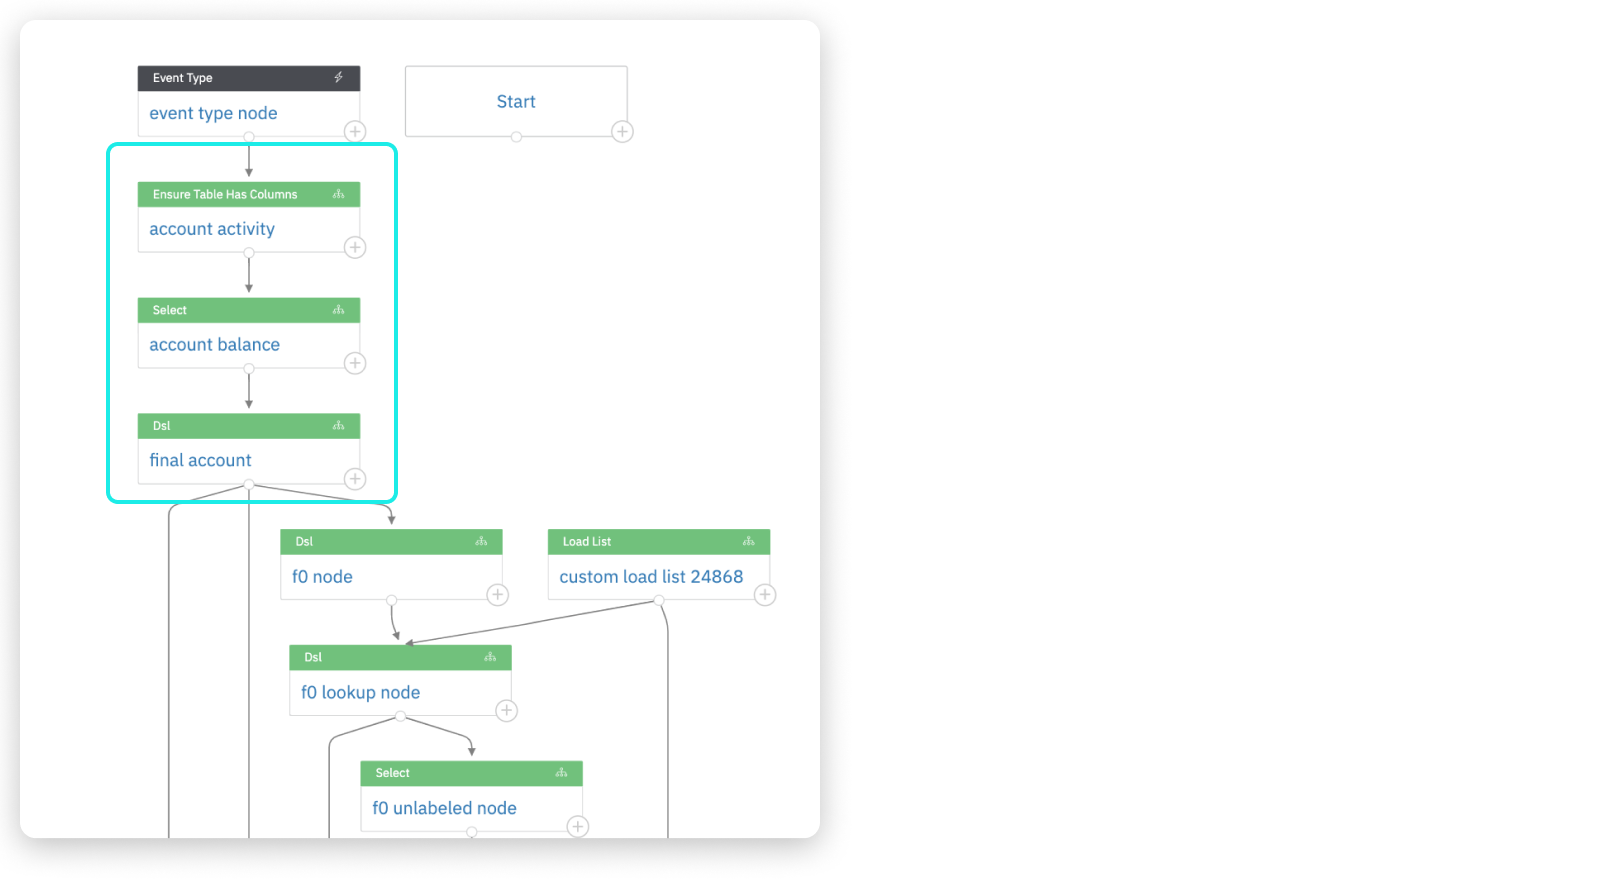
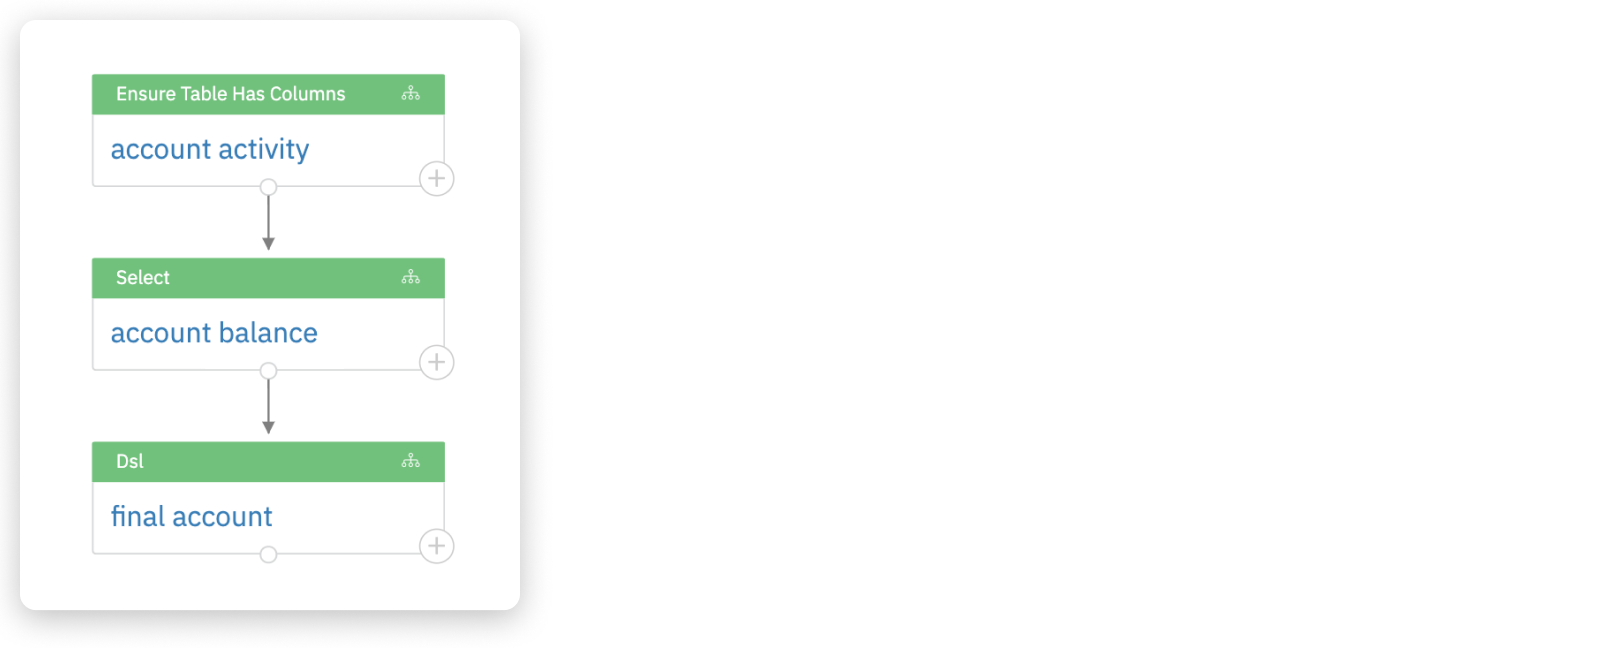
In the following playbook, the three steps in the highlighted box are tagged for the presentation.

Click on the Present icon to display the tagged nodes. To change back to the full playbook, click the Present icon again.

How to Use Present Mode
After tagging the group of nodes, click on the Present icon on the top-right corner of the playbook designer. The Presentations pane opens up on the left side of the page that consists of the following items:
- Tagged Nodes: This section will display each node that you have tagged in the playbook. Once you create the tags for each node, it cannot be deleted unless you go to the playbook and delete the tags to remove them. Each tag is called slides in the present mode. In the tagged nodes, click on the three dots to Add to New Presentation. A new presentation will be created below, with the three dots containing the following options.
| Option | Description |
|---|---|
| Edit | Allows you to edit the title of the presentation. |
| Duplicate | Allows you to duplicate the presentation. |
| Delete | Allows you to delete the presentation. |
The three dots for slides show the following options.
| Option | Description |
|---|---|
| Edit | Allows you to edit the slide description and the nodes to display. |
| Add to Presentation | Allows you to add the tag to another new presentation. |
| Duplicate Slide | Allows you to duplicate the slide. |
| New Slide | Allows you to add a new slide. |
| Delete | Allows you to delete a slide. A confirmation message does not appear when you click delete, therefore, be sure before deleting the slide. |
- New Presentation: Click New Presentation to add a new presentation and slides.
- Add Slide: Click Add Slide to add a new slide. You can select the tags that you want to appear on the slide and click Save.
How to Make Default Slide
To set a slide as the default, hover your cursor next to the three dots to see the pin icon, and then click it to make the slide the default. If there is no default set, the slide that was most recently opened will be displayed.

Updated over 2 years ago