Markdown Support
Markdown is a simple and easy-to-use syntax for styling all forms of writing on the web.
What You'll Learn
- Formatting your text with Markdown
What is Markdown?
Markdown is a markup language used to add formatting elements to plaintext text documents. It is written as a regular text along with a few non-alphabetic characters such as a number sign or an asterisk # or *.
Markdown support in Case Management
Case Management supports some of the basic Markdown and HTML syntax that you can use in the Summary and Comments section or in your own text files. The syntaxes are described below with examples and output that is rendered.
Headings
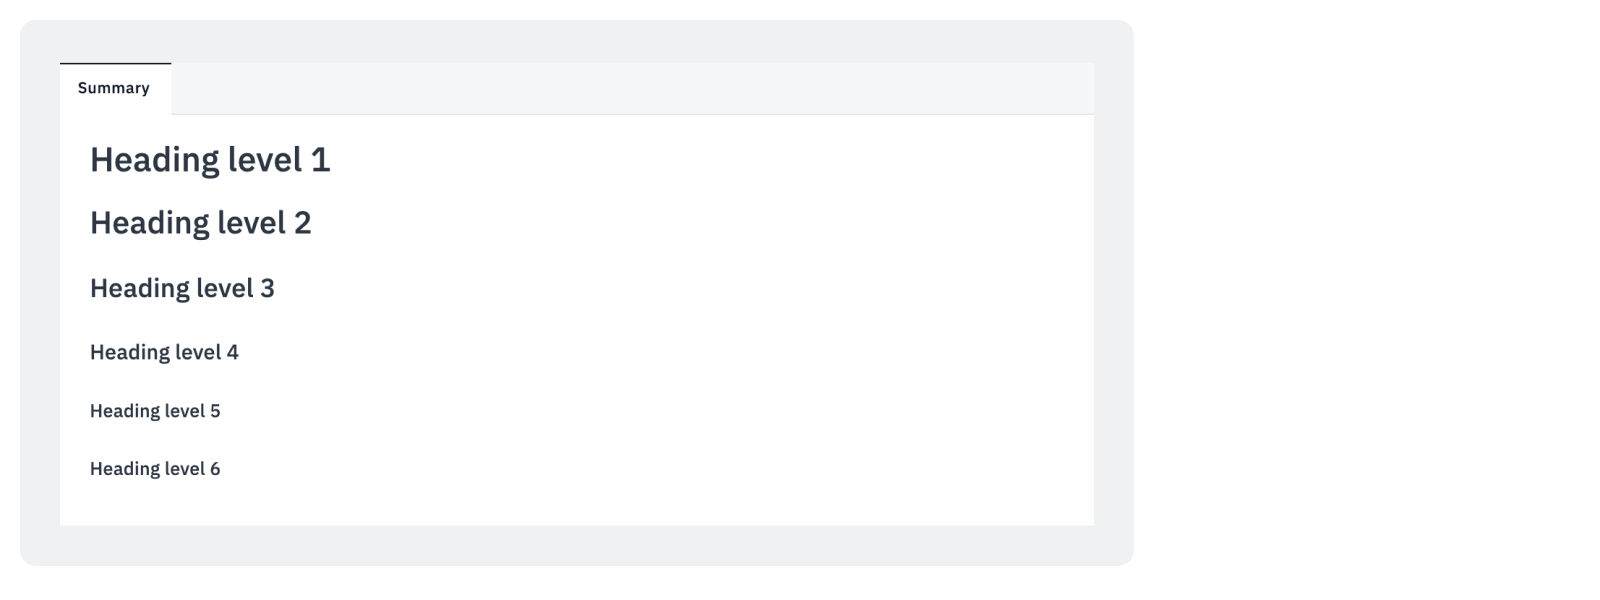
To create a heading, add a number sign (#) in front of a word or phrase. The number of number signs you use should correspond to the heading level.
For example,
- To create a Markdown heading level three, use three number signs
### Heading 3. - To create an HTML heading level three, use heading tag
<h3>Heading 3</h3>
# Heading level 1
## Heading level 2
### Heading level 3
#### Heading level 4
##### Heading level 5
###### Heading level 6
<h1>Heading level 1</h1>
<h2>Heading level 2</h2>
<h3>Heading level 3</h3>
<h4>Heading level 4</h4>
<h5>Heading level 5</h5>
<h6>Heading level 6</h6>
The rendered output looks like this:

Alternate Markdown Syntax
Alternatively, on the line below the text, add any number of == characters for heading level 1 or -- characters for heading level 2.
Heading level 1
===============

Heading level 2
---------------
The rendered output looks like this:

Links
To create a link, enclose the text in brackets (example, [Google Search Engine]) and then follow it immediately with the URL in parentheses (example, (https://www.google.com/)).
[Google Search Engine](https://www.google.com/) is the best search engine in the world.
The rendered output looks like this:

Links: Reference-style
Reference-style links are a special kind of link that makes URLs easier to display and read in Markdown. These links are constructed in two parts:
- The part you keep in line with your text, and
- The part you store somewhere else in the file to keep the text easy to read.
First Part of the Link
The first part of a reference-style link is formatted with two sets of brackets.
- The first set of brackets surrounds the text that should appear linked.
- The second set of brackets displays a label used to point to the link you’re storing elsewhere in your document.
Although not required, you can include a space between the first and second set of brackets. The label in the second set of brackets is not case sensitive and can include letters, numbers, spaces, or punctuation.
[LogicHub] [1]
[Google] [2]
[Wikipedia] [3]


[1]: https://www.logichub.com/
[2]: https://www.google.com/
[3]: https://www.wikipedia.org/
The rendered output looks like this:

Emphasis
You can add emphasis using * or _ wrapped words and phrases as bold and italic emphasis. Refer to the examples below.
Bold
To bold text, add two asterisks or underscores before and after a word or phrase.
To bold the middle of a word for emphasis, add two asterisks without spaces around the letters.
The following syntax can be used to bold the text.
I love to use **Case Management** in LogicHub.
I love to use __Case Management__ in LogicHub.
I love to use**Case Management**in LogicHub.
I love to use <strong>Case Management</strong> in LogicHub.
I love to use <strong>Case Management</strong> in LogicHub.
I love to use<strong>Case Management</strong>in LogicHub.
The rendered output looks like this:

Italics
To italicize text, add one asterisk or underscore before and after a word or phrase.
Automate your tasks using *Playbooks*
Automate your tasks using _Playbooks_
Automate your tasks using*Playbooks*
Automate your tasks using <em>Playbooks</em>
Automate your tasks using <em>Playbooks</em>
Automate your tasks using<em>Playbooks</em>
The rendered output looks like this:

Bold and Italic
To emphasize text with bold and italics at the same time, add three asterisks or underscores before and after a word or phrase.
LogicHub provides ***100s of integrations*** out of the box
LogicHub provides ___100s of integrations___ out of the box
LogicHub provides __*100s of integrations*__ out of the box
LogicHub provides **_100s of integrations_** out of the box
LogicHub provides***100s of integrations***out of the box
LogicHub provides <strong><em>100s of integrations</em></strong> out of the box
LogicHub provides <strong><em>100s of integrations</em></strong> out of the box
LogicHub provides <strong><em>100s of integrations</em></strong> out of the box
LogicHub provides <strong><em>100s of integrations</em></strong> out of the box
LogicHub provides<strong><em>100s of integrations</em></strong>out of the box

Strikethrough
To strikethrough text, add two tildes (~) before and after a word or phrase.
~~I didn't mean to write this~~
The rendered output looks like this:

Line Separators
To add a line separator, you can use a line with three or more dashes with an extra blank line before and after or three or more * characters.
___

__________

**********
The rendered output looks like this:

Lists
You can organize items into ordered and unordered lists.
Ordered Lists
To create an ordered list, add line items with numbers followed by periods. The numbers don’t have to be in numerical order, but the list should start with the number one.
1. First item
2. Second item
3. Third item
4. Fourth item
<ol>
<li>First item</li>
<li>Second item</li>
<li>Third item</li>
<li>Fourth item</li>
</ol>
The rendered output will look like this:

Ordered Lists: Indentation
To indent the sub-items in an ordered list, use at least two or four spaces and add the sub-item numbering such as a, i, or the number itself.
1. First item
2. Second item
3. Third item
    1. Indented item
    2. Indented item
4. Fourth item
<ol>
<li>First item</li>
<li>Second item</li>
<li>Third item
<ol>
<li>Indented item</li>
<li>Indented item</li>
</ol>
</li>
<li>Fourth item</li>
</ol>
The rendered output looks like this:

Unordered Lists
To create an unordered list, add dashes (-), asterisks (*), or plus signs (+) in front of line items. Indent one or more items to create a nested list.
- First item
- Second item
- Third item
- Fourth item


* First item
* Second item
* Third item
* Fourth item


+ First item
+ Second item
+ Third item
+ Fourth item
<ul>
<li>First item</li>
<li>Second item</li>
<li>Third item</li>
<li>Fourth item</li>
</ul>
The rendered output looks like this:

Unordered Lists: Indentation
- First item
- Second item
- Third item
    - Indented item
    - Indented item
- Fourth item
<ul>
<li>First item</li>
<li>Second item</li>
<li>Third item
<ul>
<li>Indented item</li>
<li>Indented item</li>
</ul>
</li>
<li>Fourth item</li>
</ul>
Blockquotes
To create a blockquote, add a greater-than angle bracket >.
> This is a blockquote text.
The rendered output looks like this:

Blockquotes: Nested
To create a nested blockquote, use two greater-than angle bracket >
> This is a blockquote.

>> A blockquote would look great indented.
The rendered output looks like this:

Blockquotes with Other Elements
You can include other elements within a blockquote.
> Quoted text

> ### With a Heading

> And other elements, such as:

> - Bullets

> - **Bold text**

> - *italics!*
The rendered output looks like this:

Code
To create a code format text such as a command or a code snippet, wrap the text with backticks ()`.
At the command prompt, type `cmd`.
At the command prompt, type <code>cmd</code>.
The rendered output looks like this:

Code: Disable Automatic URL Linking
You can use code definition to prevent URLs from being turned into links automatically.
`https://www.google.com/`
The rendered output looks like this:

Code Blocks
To create code blocks, indent every line by at least four spaces or a tab.
{
    "firstName": "John",
    "lastName": "Smith",
    "age": 25
}
Code Blocks: Fenced Code Blocks
To create fenced code blocks, use three backticks (```) on the lines before and after the code block.
```
{
"firstName": "John",
"lastName": "Smith",
"age": 25
}
```
The rendered output looks like this:

Images
To add an image, add an exclamation mark (!), followed by alt text in brackets, and the path or URL to the image asset in parentheses.
The title appears when you mouseover on the image. The alt text shows when the image fails to load. In the example below, the alt text/title text is "LogicHub".

The rendered output looks like this:

Custom Examples
The following are some custom HTML examples that may be useful in more advanced cases.
Definition Lists via HTML
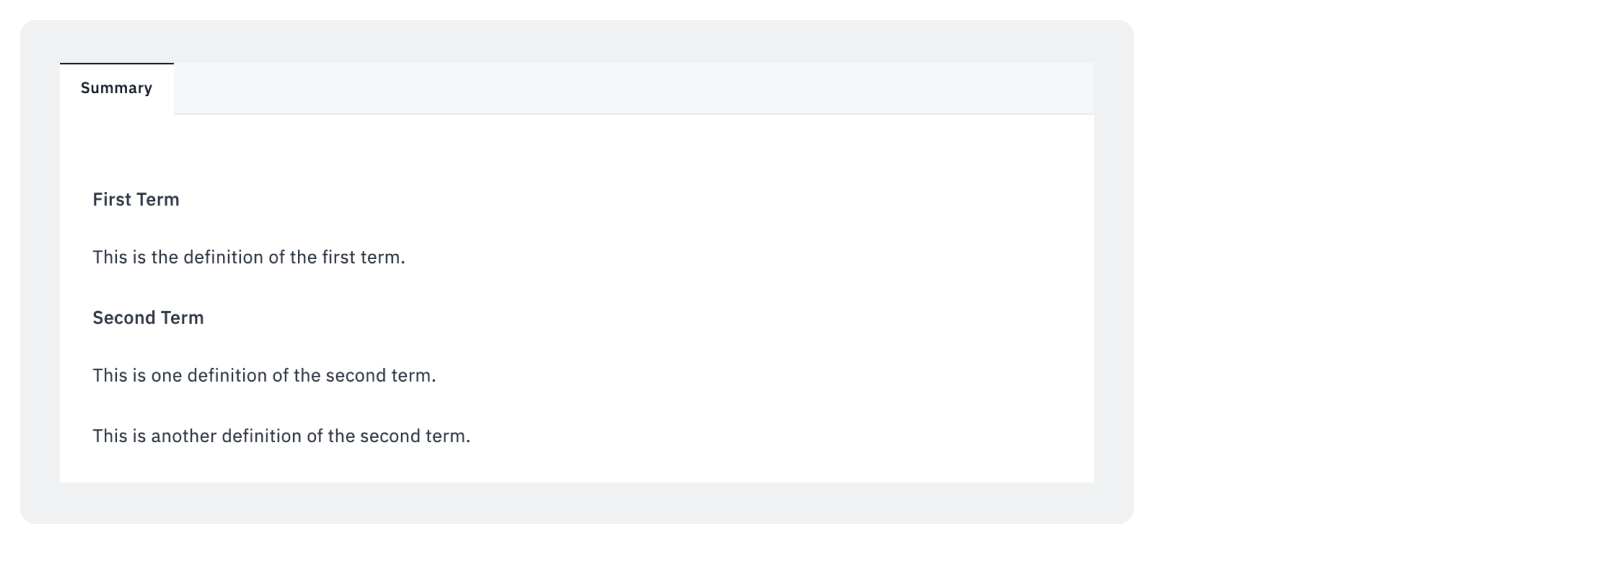
A definition list is a list of terms and corresponding definitions.
LogicHub does not support the extended markdown version of the definition lists, but it can be done via HTML.
<dl>
    <dt>First Term</dt>
    <dd>This is the definition of the first term.</dd>
    <dt>Second Term</dt>
    <dd>This is one definition of the second term.</dd>
    <dd>This is another definition of the second term.</dd>
</dl>
The rendered output looks like this:

Text Color
You can define colored text using HTML.
<font color=green>colored text.</font>
The rendered output looks like this.

HTML Table: Basic Formatting
You can format a simple HTML table.
<table>

<tr><td>Server</td><td>Disk Usage</td></tr>

<tr><td>Server 1</td><td>93% (426 GB)</td></tr>

<tr><td>Server 2</td><td>75% (344 GB)</td></tr>

<tr><td>Server 3</td><td>43% (197 GB)</td></tr>

<tr><td>Server 4</td><td>24% (110 GB)</td></tr>

</table>
The rendered output looks like this:

HTML Table: Advanced Formatting
You can format a robust version of the table with some of the enhancements, such as:
- Specific widths for each column and for the table as a whole
- Set the first row as the header row
- Alternating background color for standard text
- Customized background color by severity
- Specific cell padding and margin
<head>

<style>

.test_table {

    width:323px;

    border: 2px solid black;

}

.test_table table, th, tr, td {

    margin:0;

    padding:4px;

}

.test_table th {

    background-color: #f0f1f2;

    border: 2px solid black;

}

.test_table td {border: 2px solid black; }

.test_table r:nth-child(even) { background-color: #f0f1f2; }

.sev1 { background-color: #ff8080; }

.sev2 { background-color: #ffe0b3; }

.sev3 { background-color: #ffff99; }

.sev4 { background-color: #b1ff99; }

</style>

</head>

<table class="test_table">

<colgroup>

<col span="1" style=:"width: 200px;">

<col span="1" style="width: 120px;">

</colgroup>

<thead>

<tr><th>Server</th><th>Disk Usage</th></tr>

</thead>

<tbody>

<tr><td>Server 1</td><td class="sev1">93% (426 GB)</td></tr>

<tr><td>Server 2</td><td class="sev2">75% (344 GB)</td></tr>

<tr><td>Server 3</td><td class="sev3">43% (197 GB)</td></tr>

<tr><td>Server 4</td><td class="sev4">24% (110 GB)</td></tr>

</tbody>

</table>
The rendered output looks like this:

What's Next
Updated over 2 years ago