Configure Email Notification Settings
You can set up notifications so users can be informed of important information by email:
- If a stream generates an error.
- If you have a high availability (HA) deployment and the HA daemon generates an error.
Notes:
-
After configuring the email settings, you can enable email notifications for cases.
-
A Notify operator is available as an automation in the Easy Mode editor. You can set up and use the Notify operator to send notifications from your playbook whether or not you set up notifications as described in this topic.
LogicHub simplifies the configuration by providing preconfigured options for popular SMTP email servers.
To set up notifications:
- Select Settings > Notifications on the side menu.
- In the SMTP Server Details area, click Edit.
- Select one of the following server types:
-
Gmail. The Gmail SMTP server (smtp.gmail.com), port (587), and encryption method (TLS) are filled in automatically. We recommend that you leave these settings as-is if you want to use the Gmail option.
-
Office 365. The Office 365 SMTP server (smtp.office365.com), port (587), and encryption method (TLS) are filled in automatically. We recommend that you leave these settings as-is if you want to use the Office 365 option.
-
Custom. This option allows you to configure your own SMTP server settings. If you would like to support No Authentication or No Encryption these fields are available in addition to configuring the other SMTP settings.
- Enter the email address and password for the user to be listed as ‘From’ on the email notifications.
- We recommend setting encryption to TLS for port (587) and to SSL for port (465). If you're using one of the preset options (Gmail or Office 365), don’t change the encryption type.
- Enable authentication. The configuration is valid without authentication, but the notification email isn't likely to be sent.
- Click Submit.
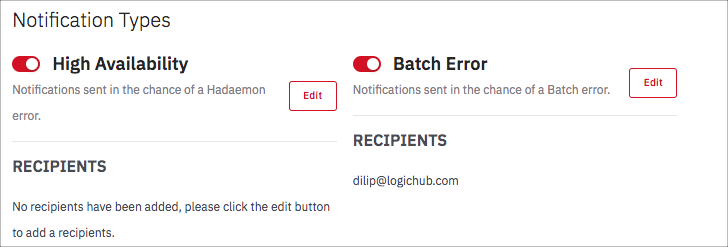
The Notifications page reopens to show the notification types you can enable and to allow you to specify recipients. (You might have to scroll down to see the notification settings.) - To set up High Availability notifications, click Edit in the High Availability area. Enter each recipient's email address and press Return. To delete an address, hover over the address and click X. After specifying addresses, click Submit.
- To set up batch notifications, click Edit in the Batch Error area. Enter each recipient's email address and press Return. To delete an address, hover over the address and click X. After specifying addresses, click Submit.
- For each type of notification you want to enable, click the toggle so it shows in red.

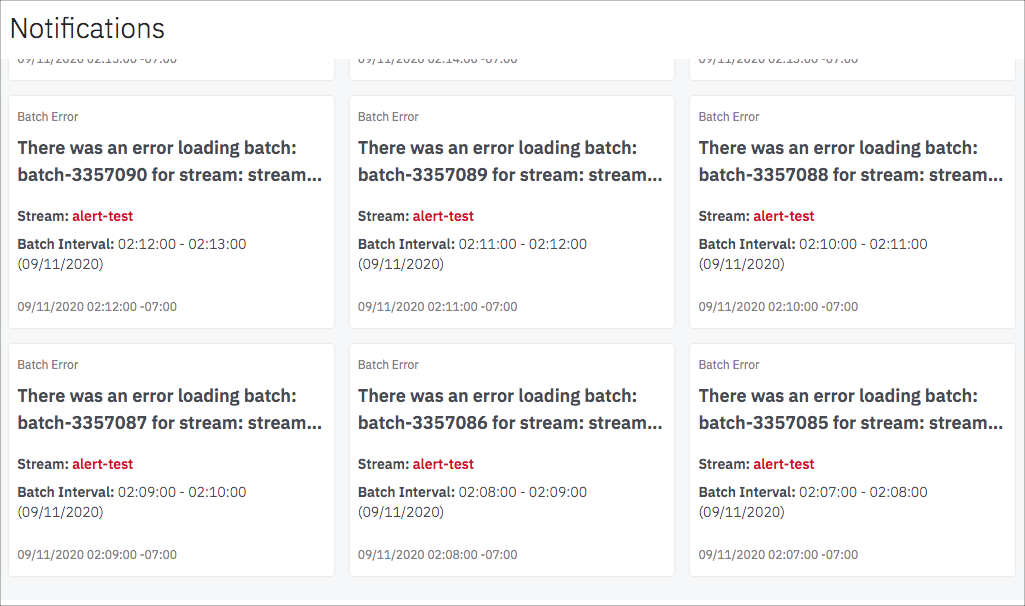
Notifications are now enabled. When errors are generated, they're listed at the top of the Notifications page and sent by email to the specified recipients.
You can edit the server details, enable or disable notifications, or change recipients at any time.

Updated over 2 years ago